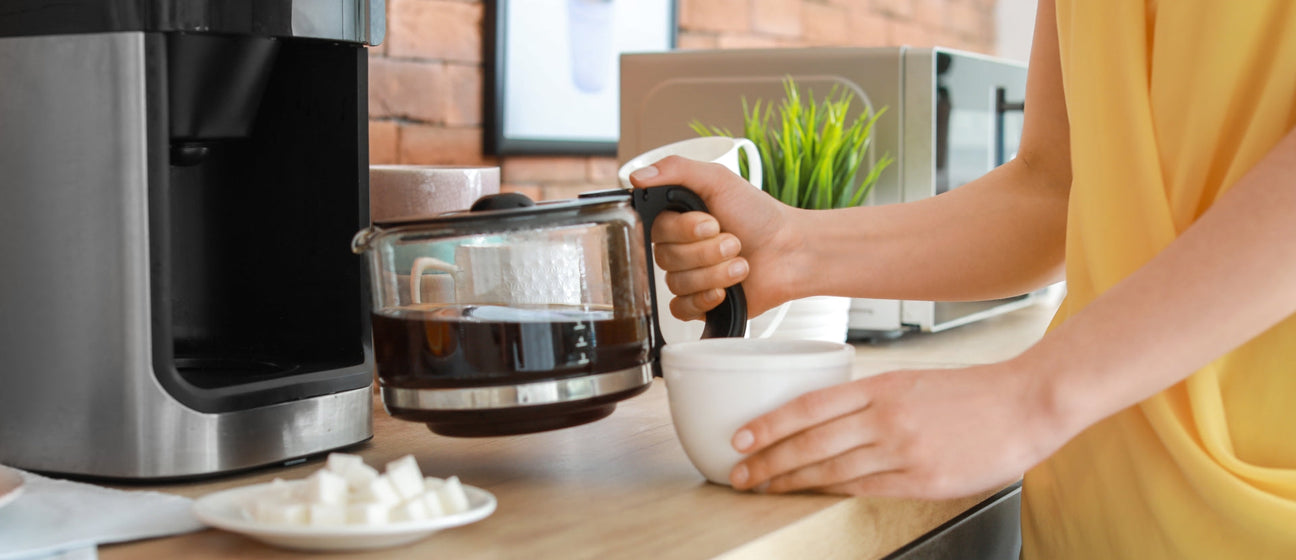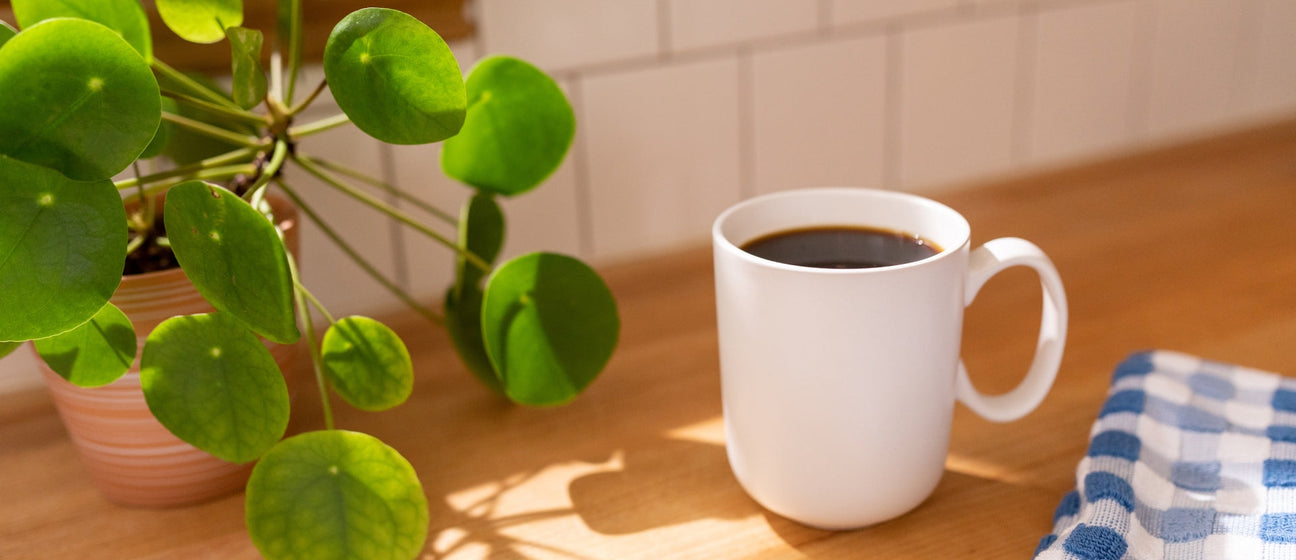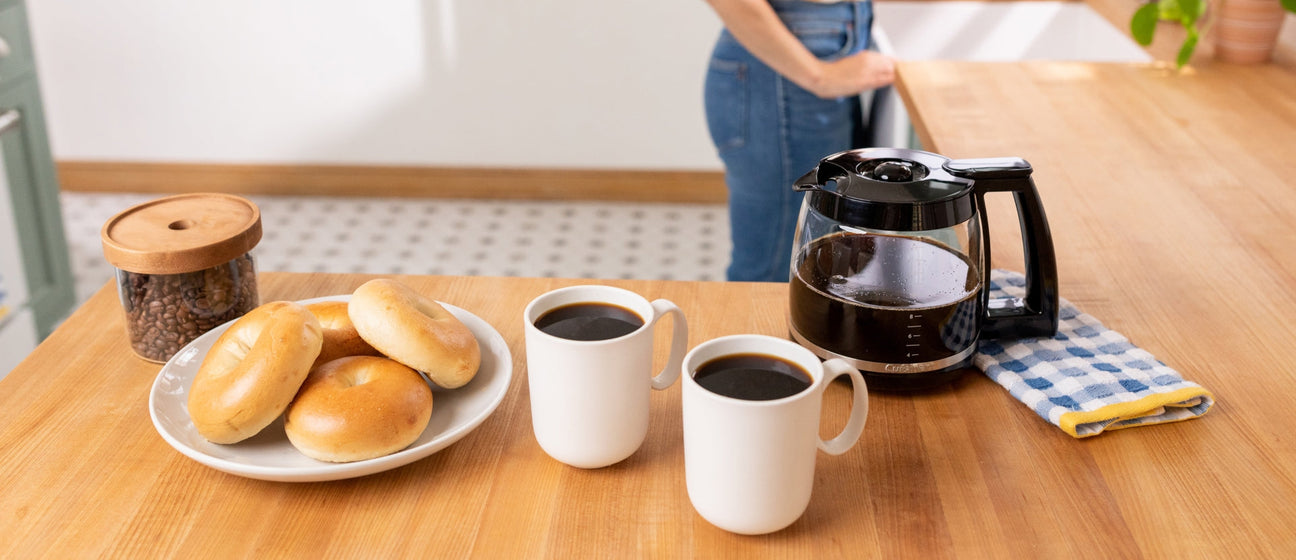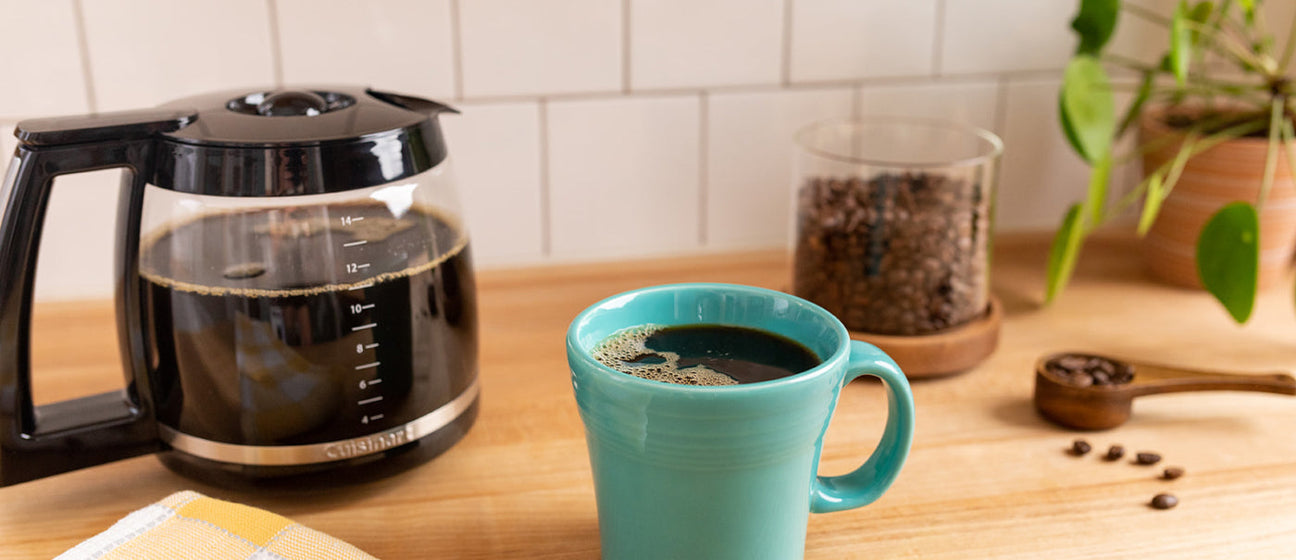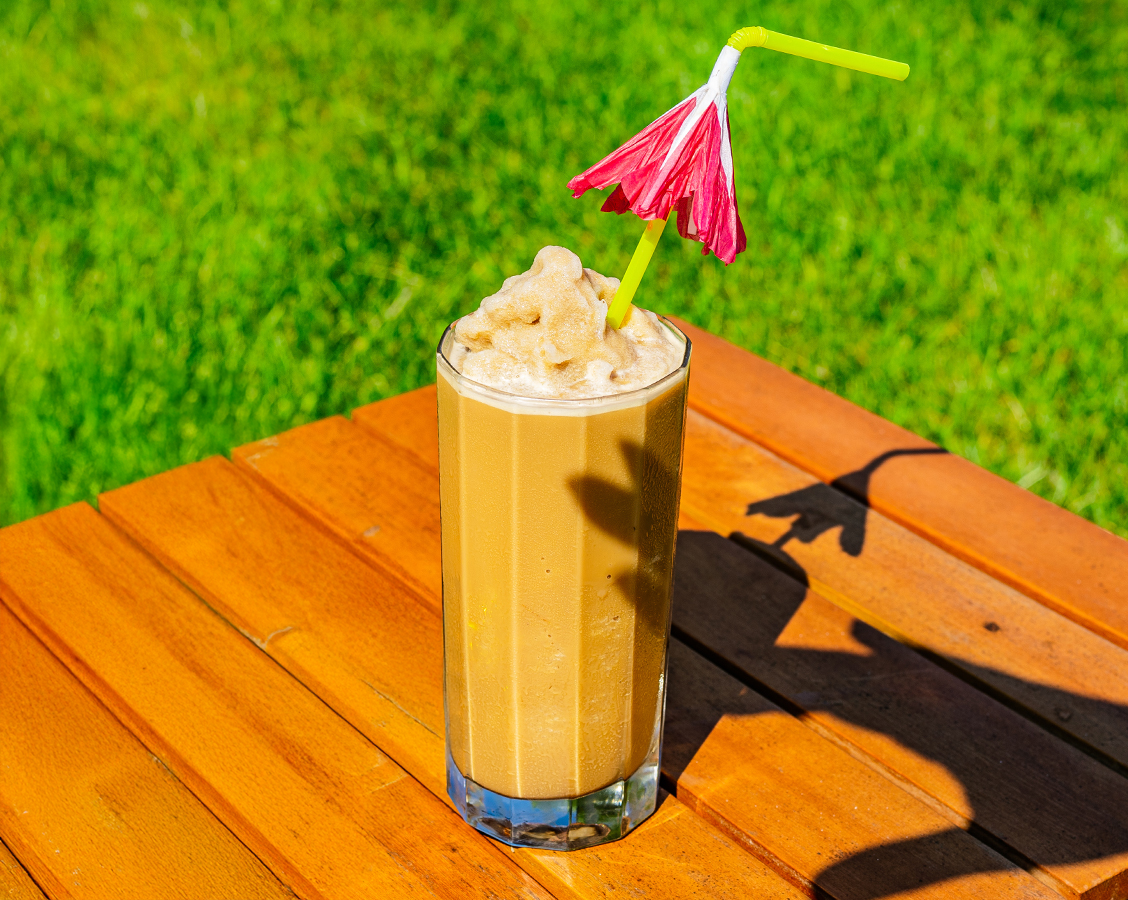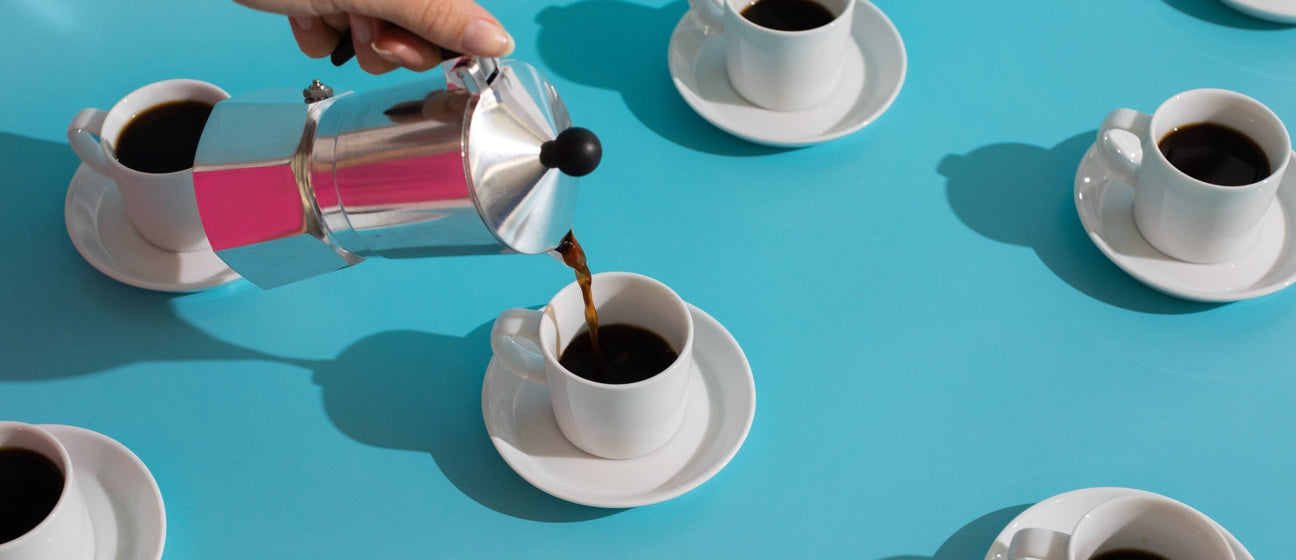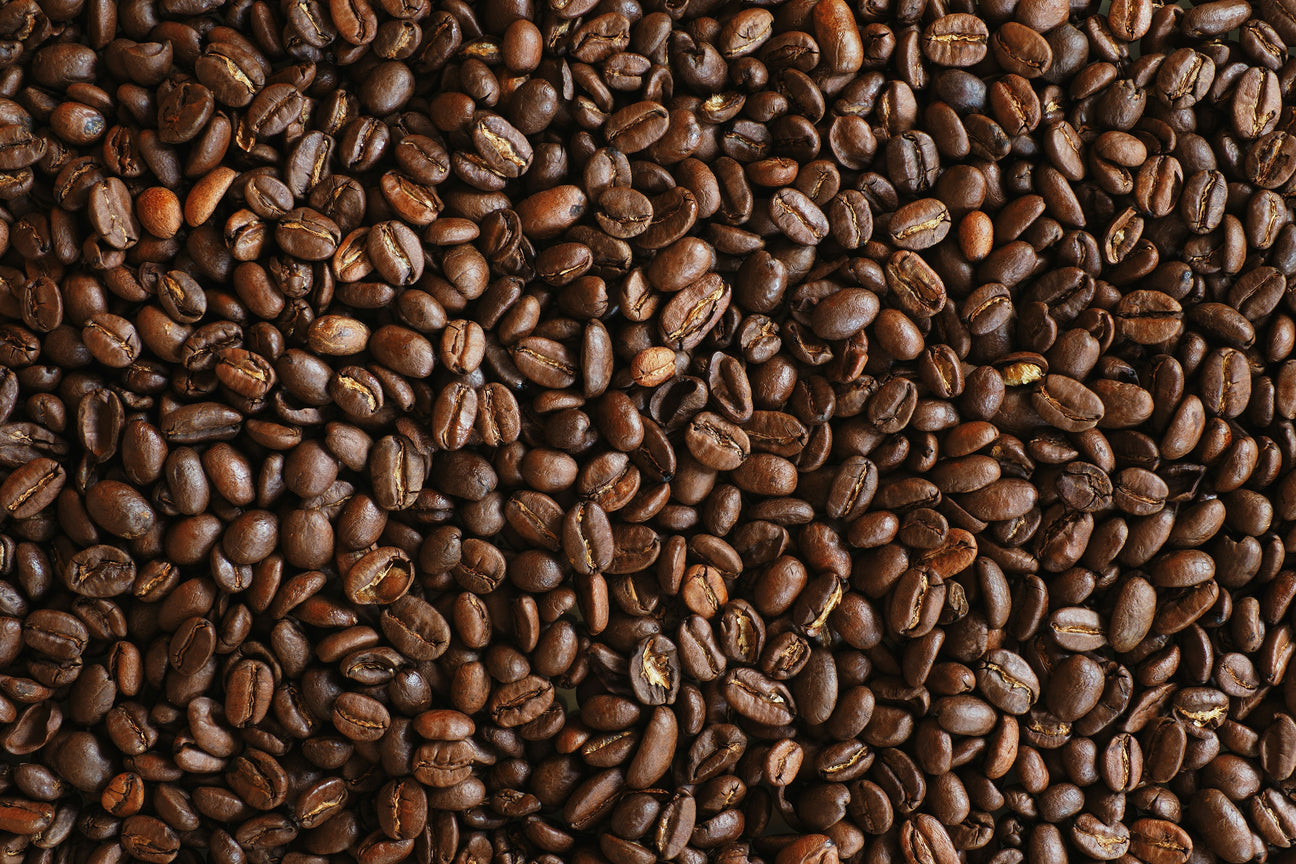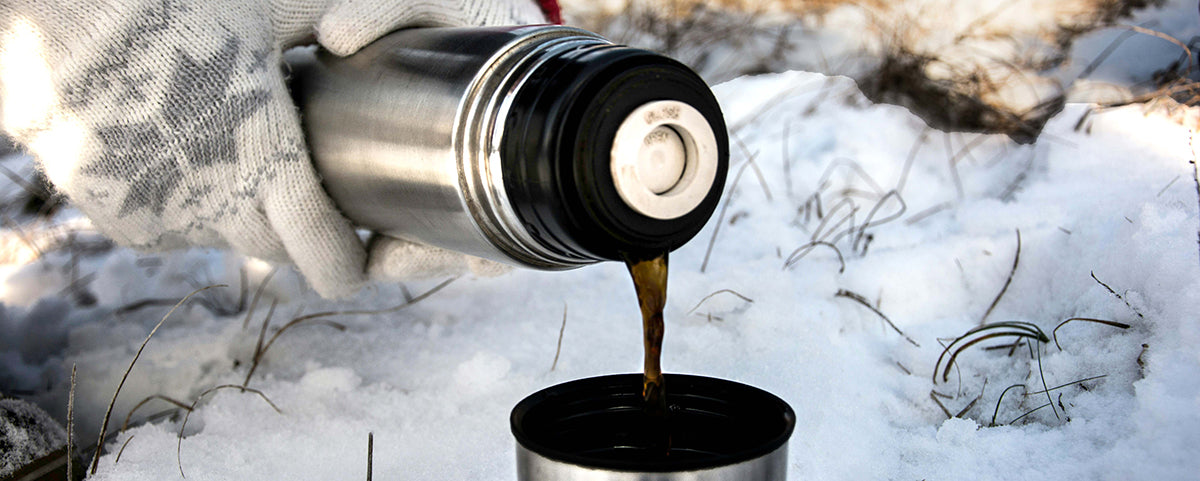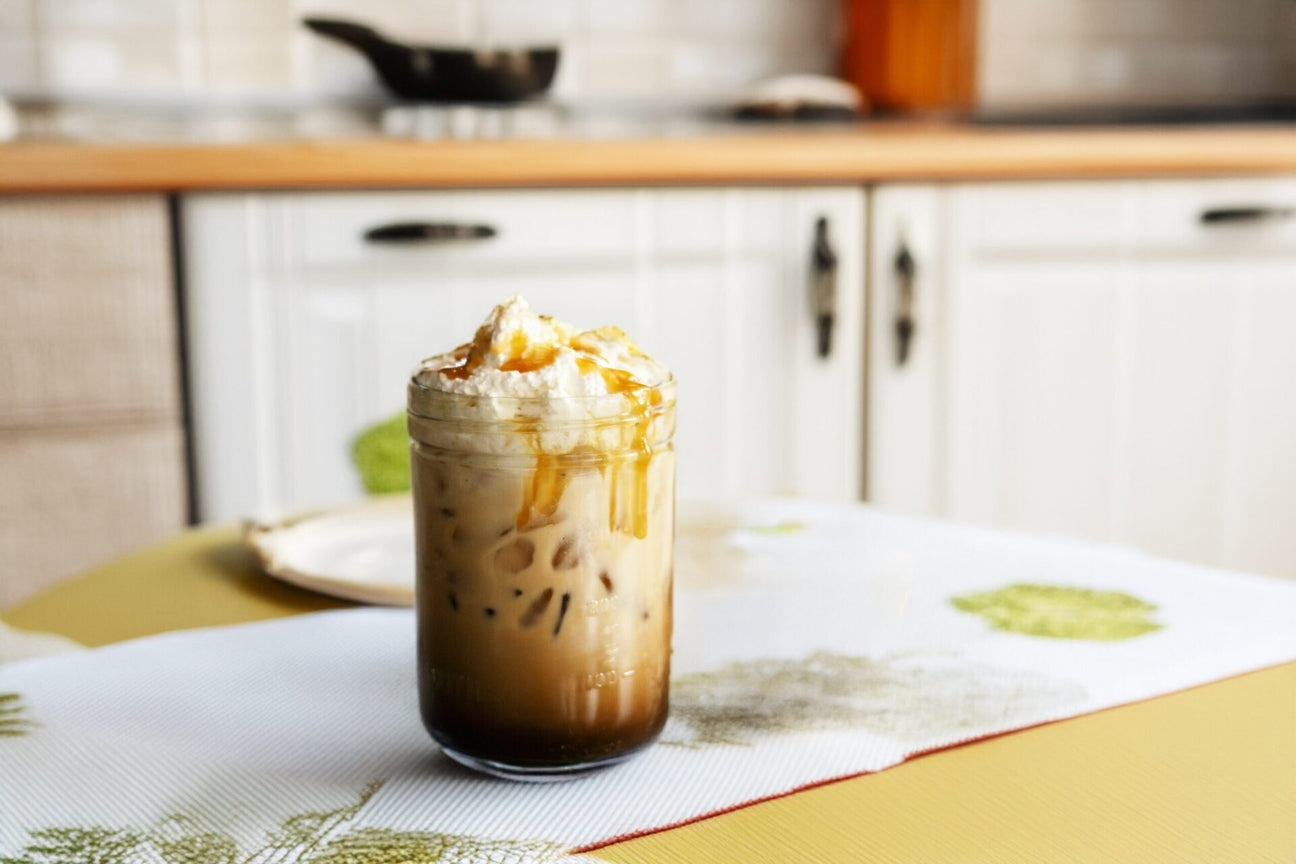
6 o’clock, Monday morning: all hail the mighty Keurig. We love being able to grab a pod, press a button, and sip a French Roast before our eyes are even fully open. When we’re enjoying a slow Saturday morning, though, we’re inclined to put a little more time and care into our mug.
Enter the pour-over. With just a few inexpensive tools, you can enjoy a perfectly smooth, great-tasting cup of coffee without any fancy equipment or even electricity. A pour-over is a great way to brew coffee while you’re out camping, or if you simply ascribe to the belief that good things come to those who wait.
MUST- HAVES
Pour Over Dripper
We’d recommend the Bee House or the Hario V60, as their conical shape and inner ridges do a good job of controlling the rate water filters through coffee grounds. They’ll give you that smooth, balanced cup of coffee you’re looking for.
Coffee Filter
The Bee House dripper takes Melitta filters—affordable and available at most grocery stores—so it’s your best bet if you’re a no-fuss, one-stop-shopper. Otherwise, you can easily purchase Hario V60 filters on Amazon.
NICE-TO-HAVES
Scale
For precision, consider investing in an affordable kitchen scale—this one is just $18, and works like a dream. We recommend a 1:15 ratio of coffee to water. So, if you’re just brewing a cup for yourself, measure 30g of coffee and 450g of water. Don’t have a scale handy? Use 2-3 tbsp of grounds per 6oz. of water.
Kettle
If you plan on making pour over your primary method of brewing, we’d suggest purchasing a gooseneck kettle, like this one, so that you can more precisely control how much water you’re pouring, and how fast it comes out. These factors are important for even extraction and great-tasting coffee.


STEP 1
GET YOUR WATER BOILING
The ideal brewing temperature is between 195-205° Fahrenheit. If you don’t have a thermometer or an electric kettle, bring the water to a rolling boil, then turn the stove off, and let it sit for 30 seconds before pouring.
STEP 2
WET YOUR FILTER
Place your filter in your pour-over brewer, then dampen it with a little bit of hot water. This’ll help the filter cling snugly to the sides of the brewer, and rinse out any potential papery tastes it could impart into your coffee.

STEP 3
PICK YOUR FAVORITE
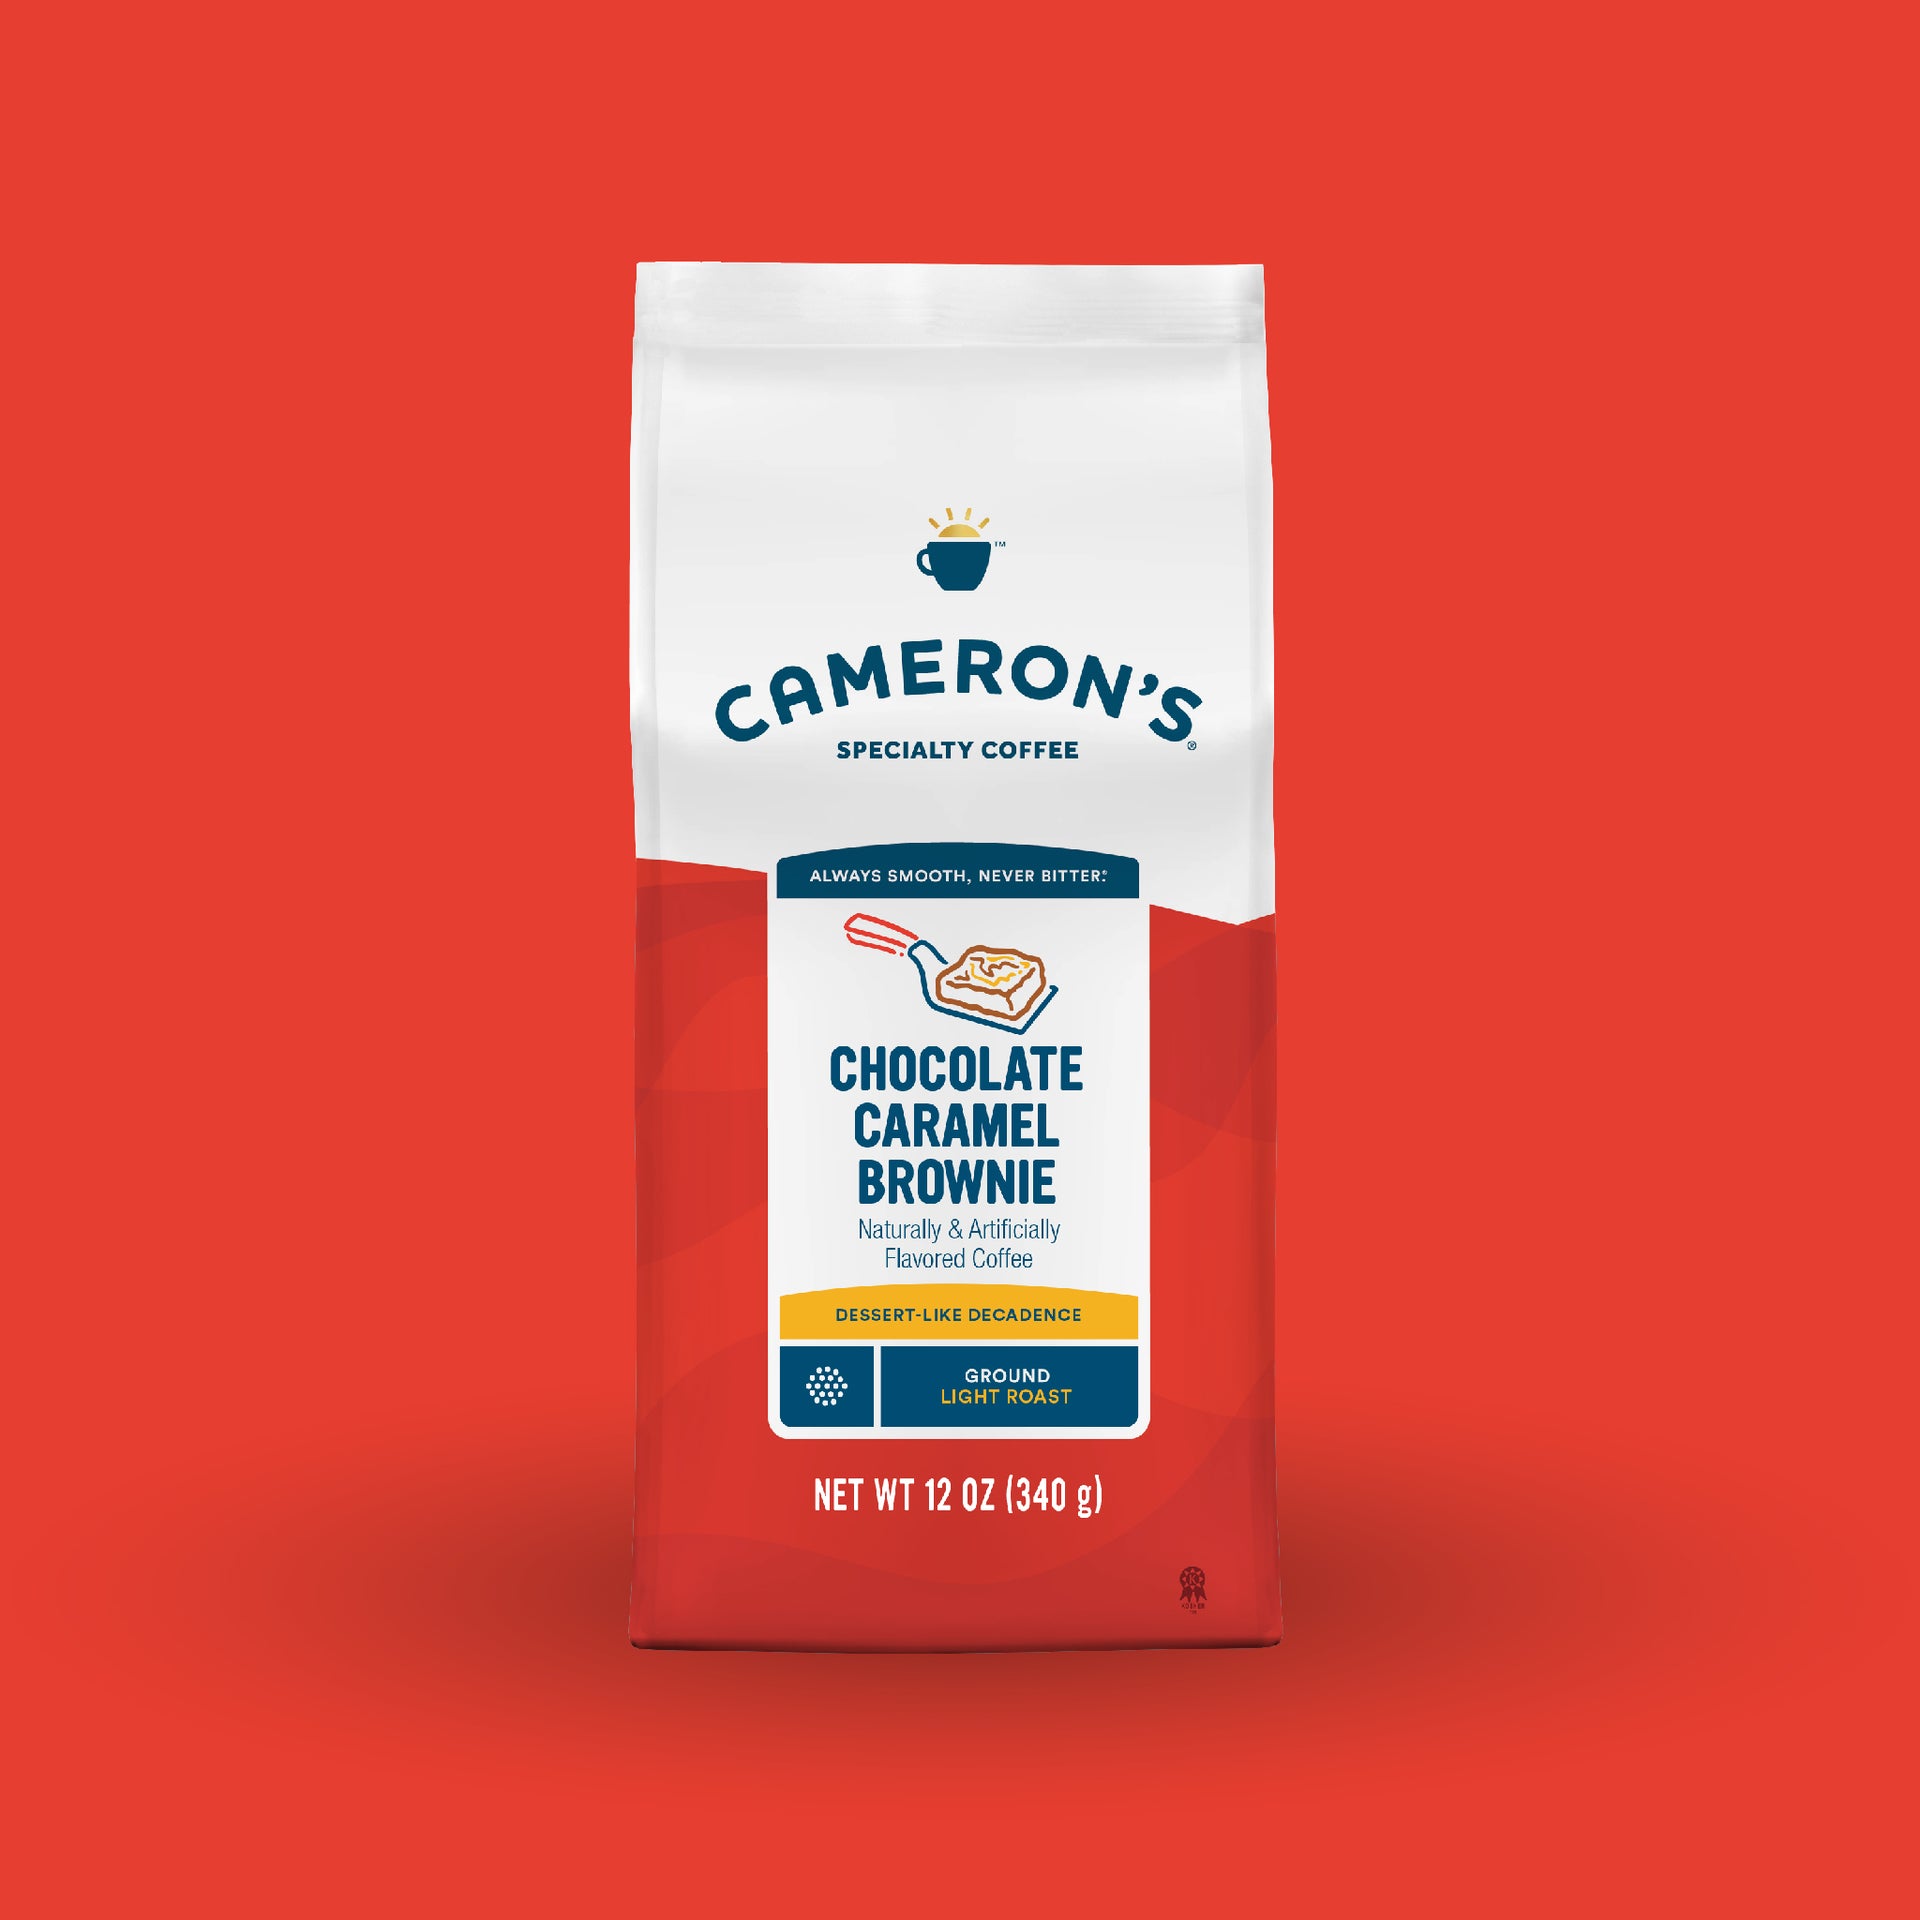
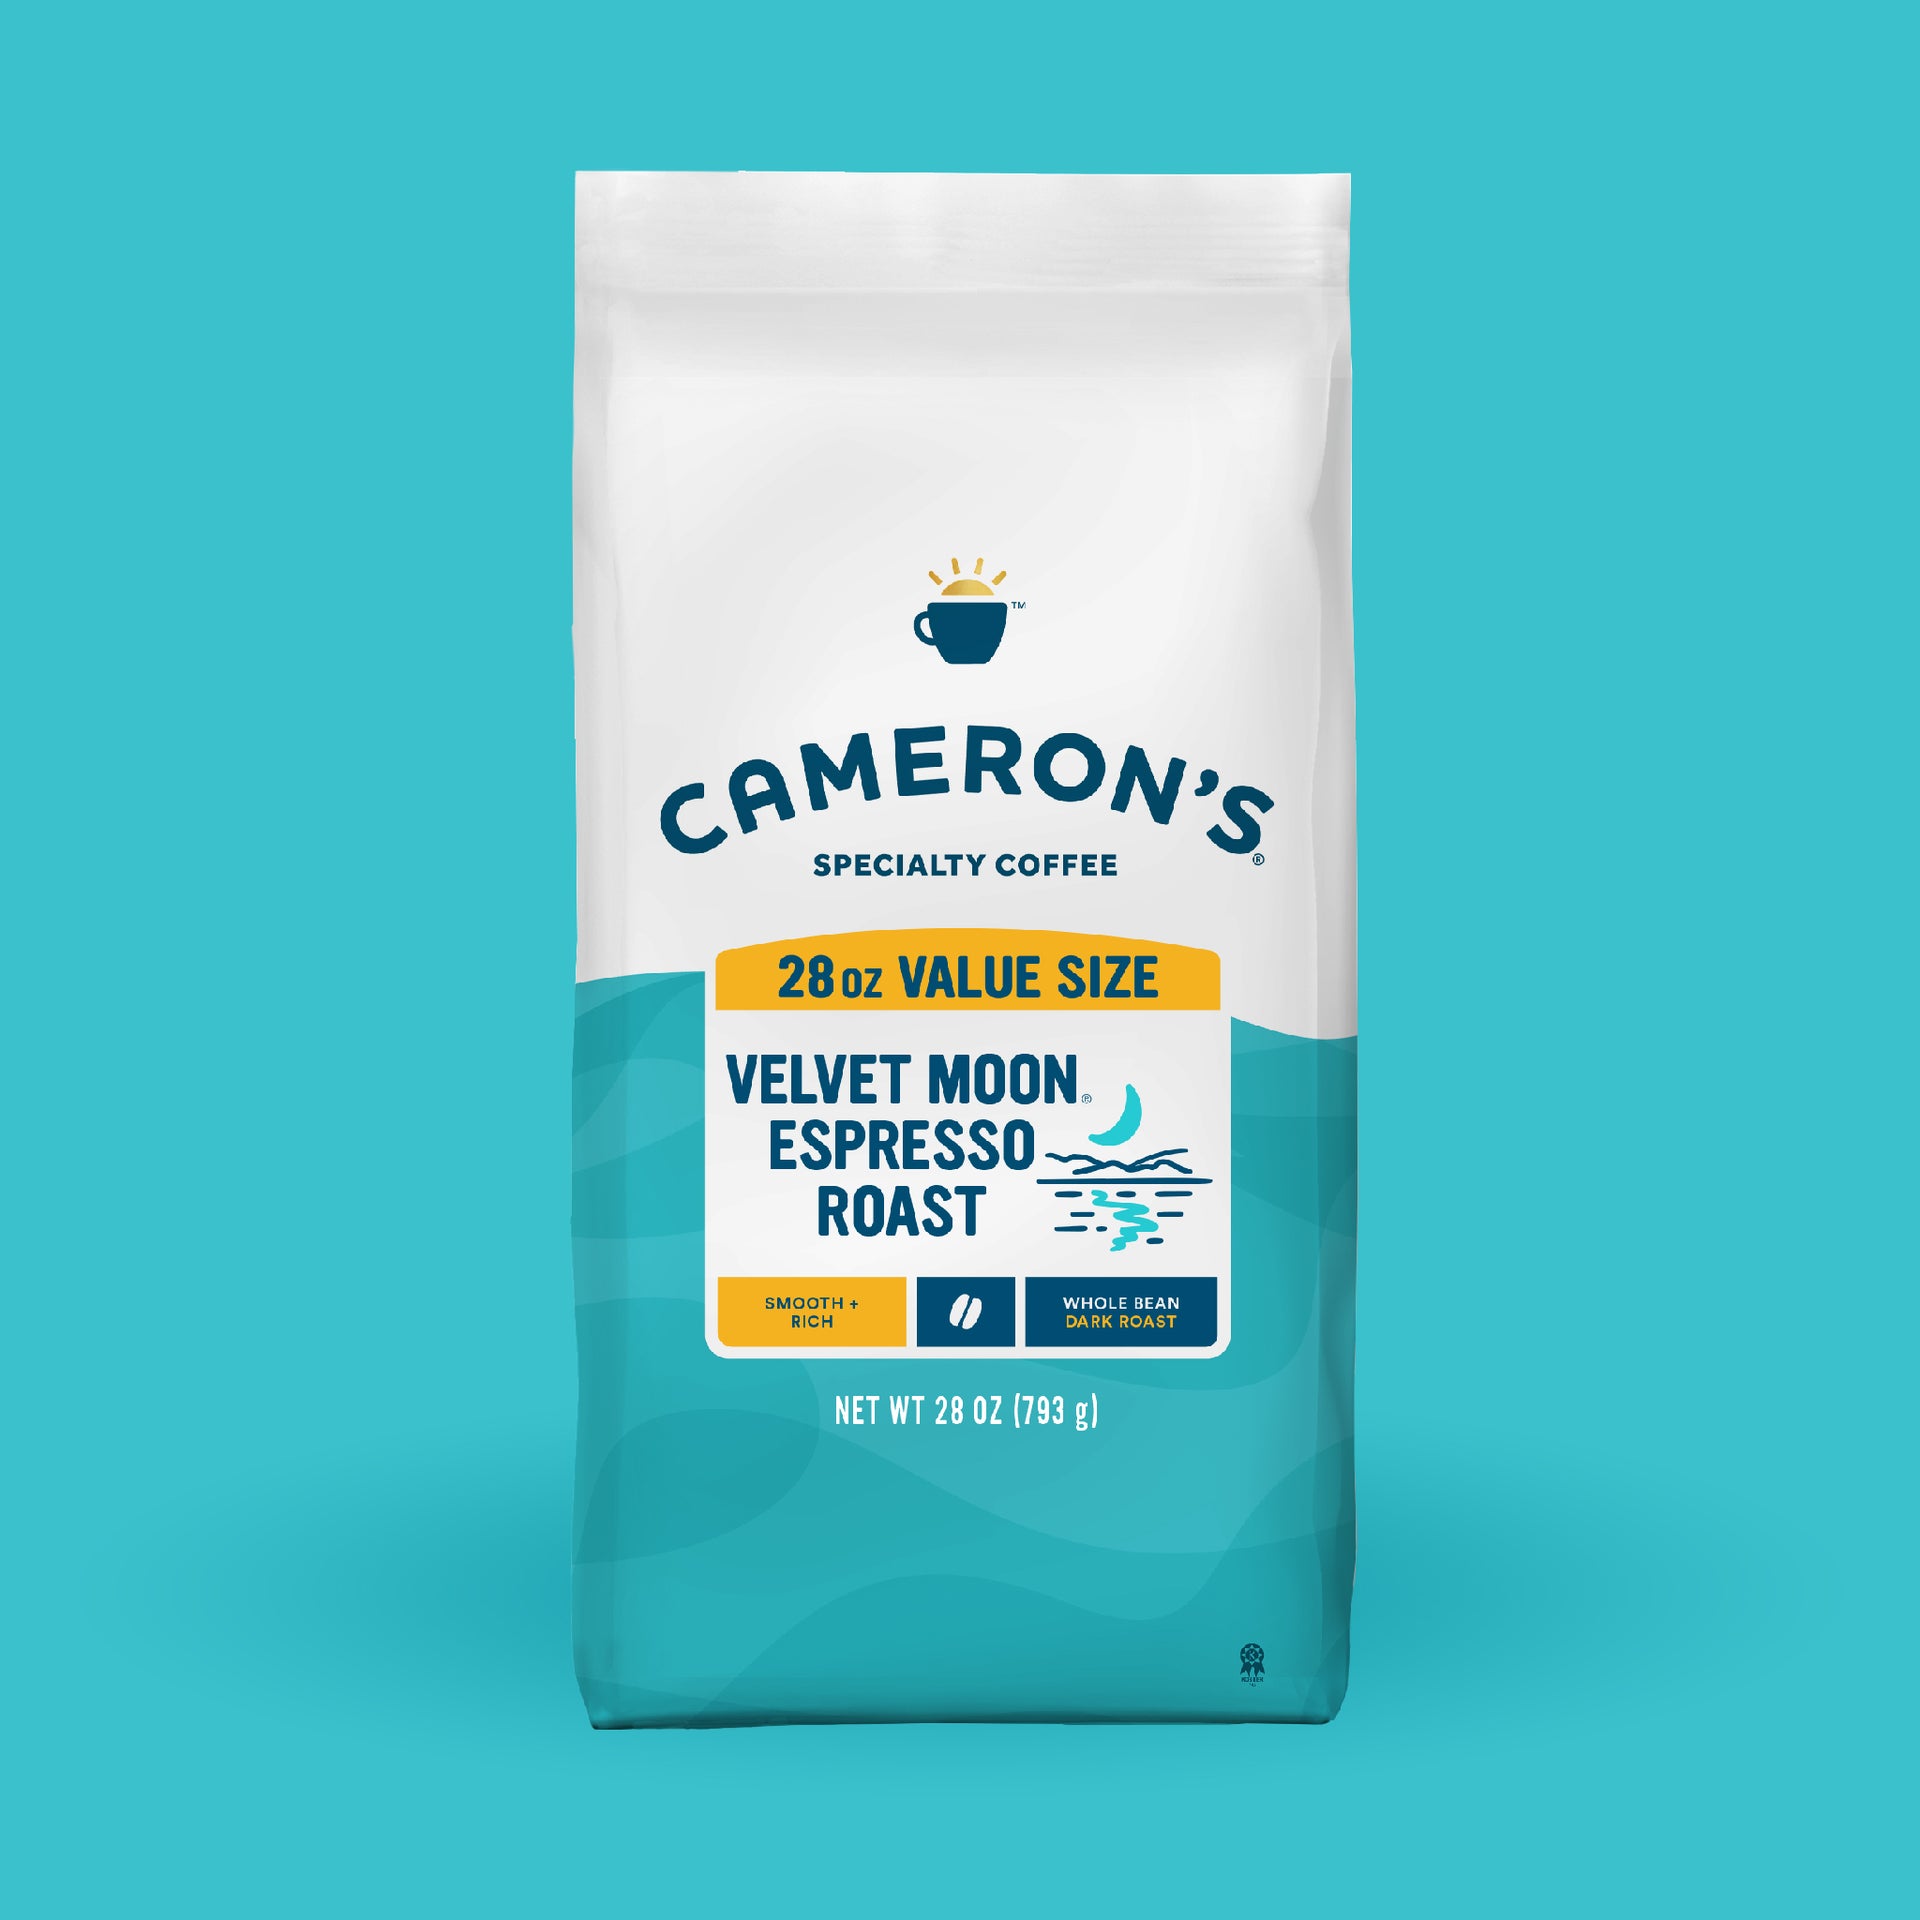
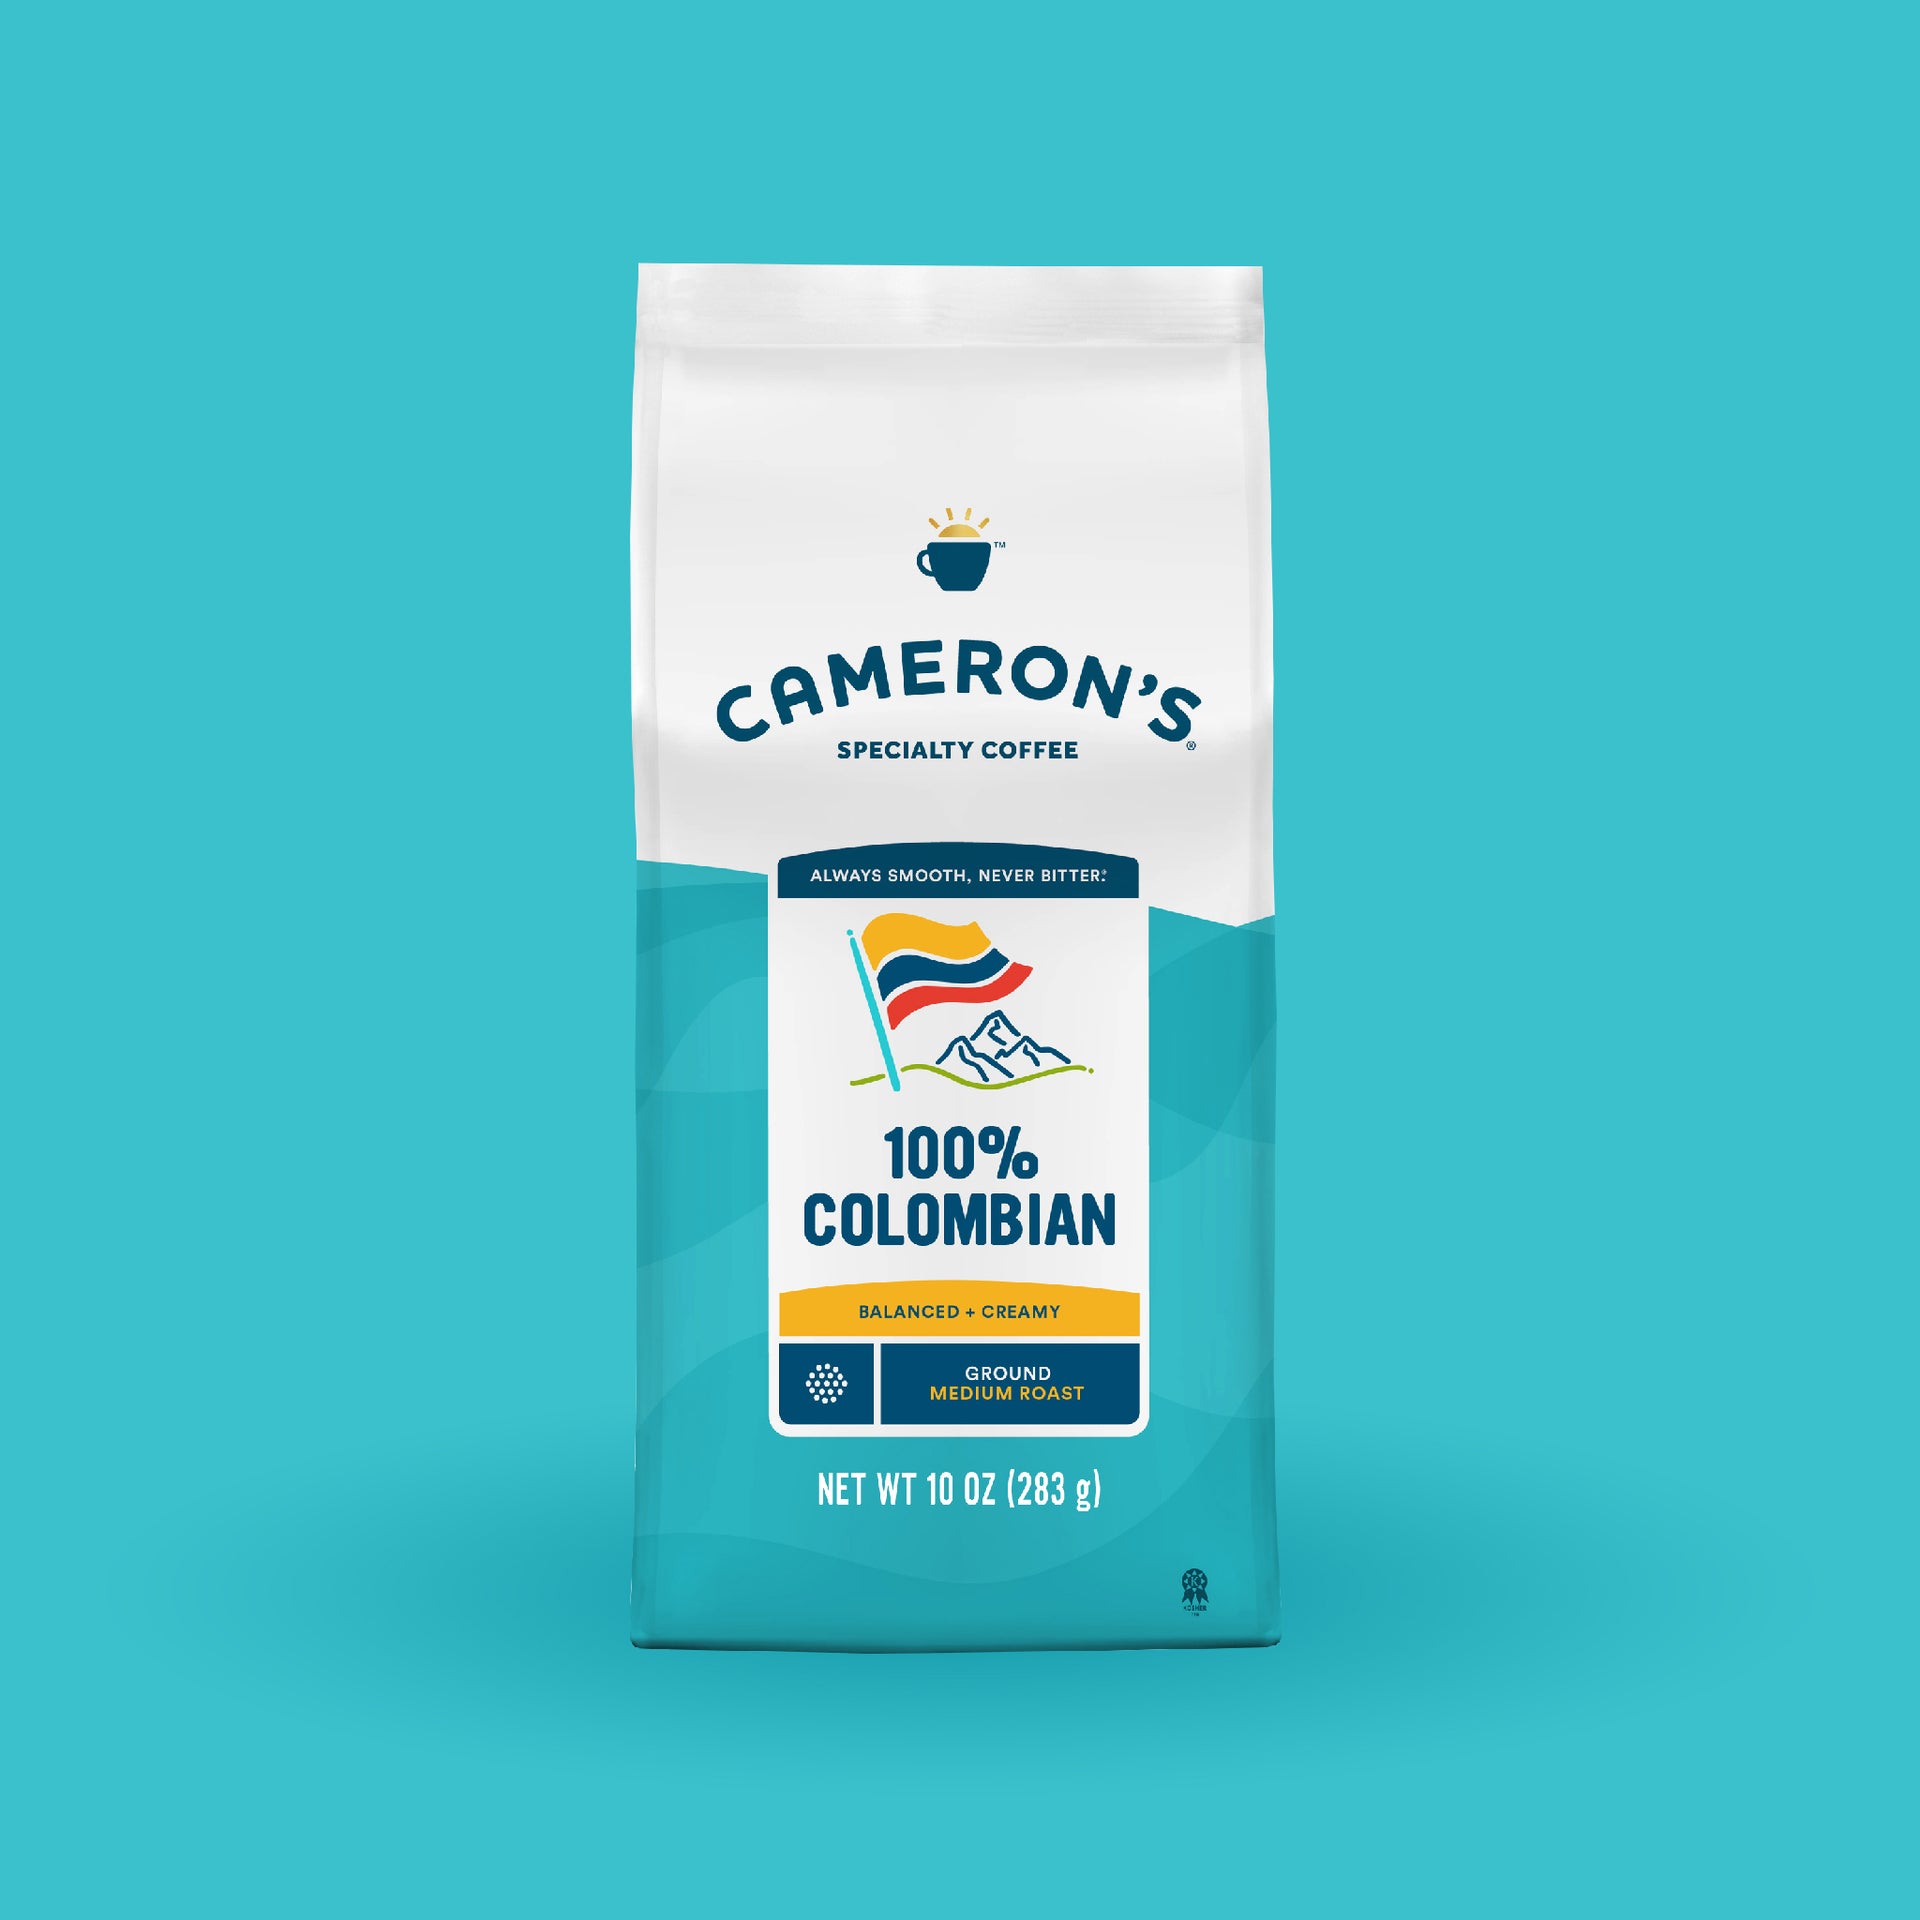
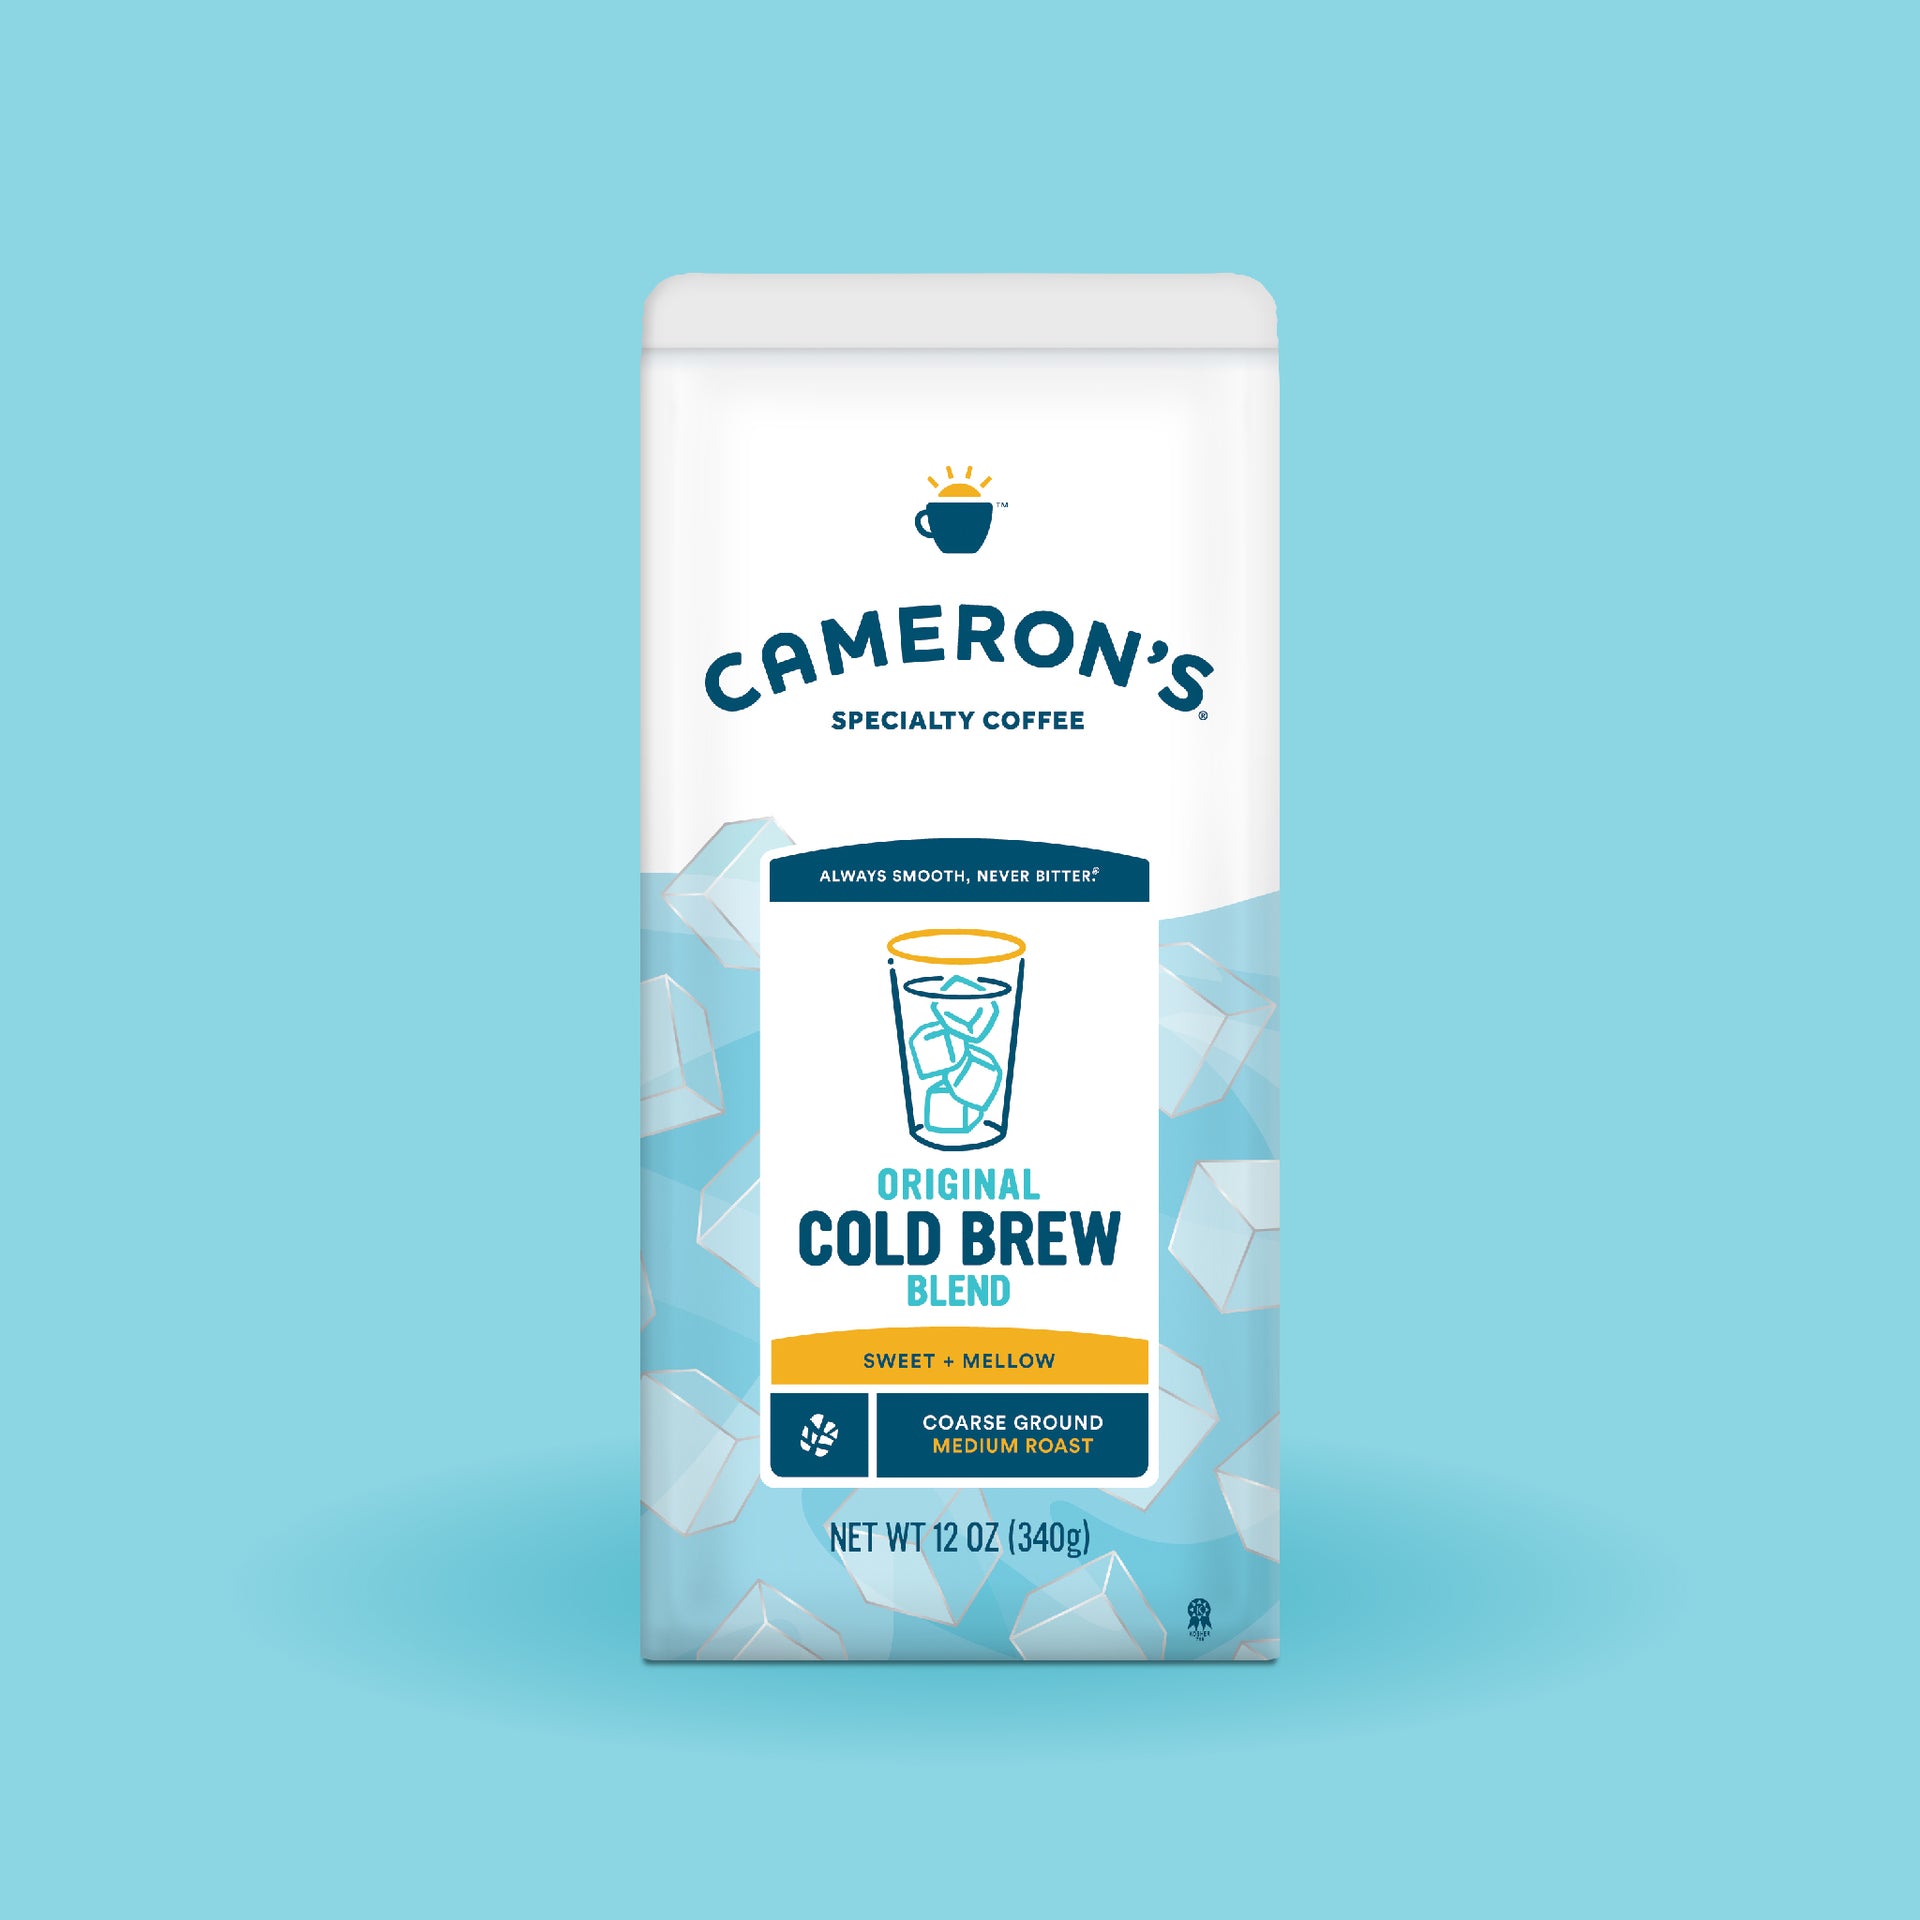
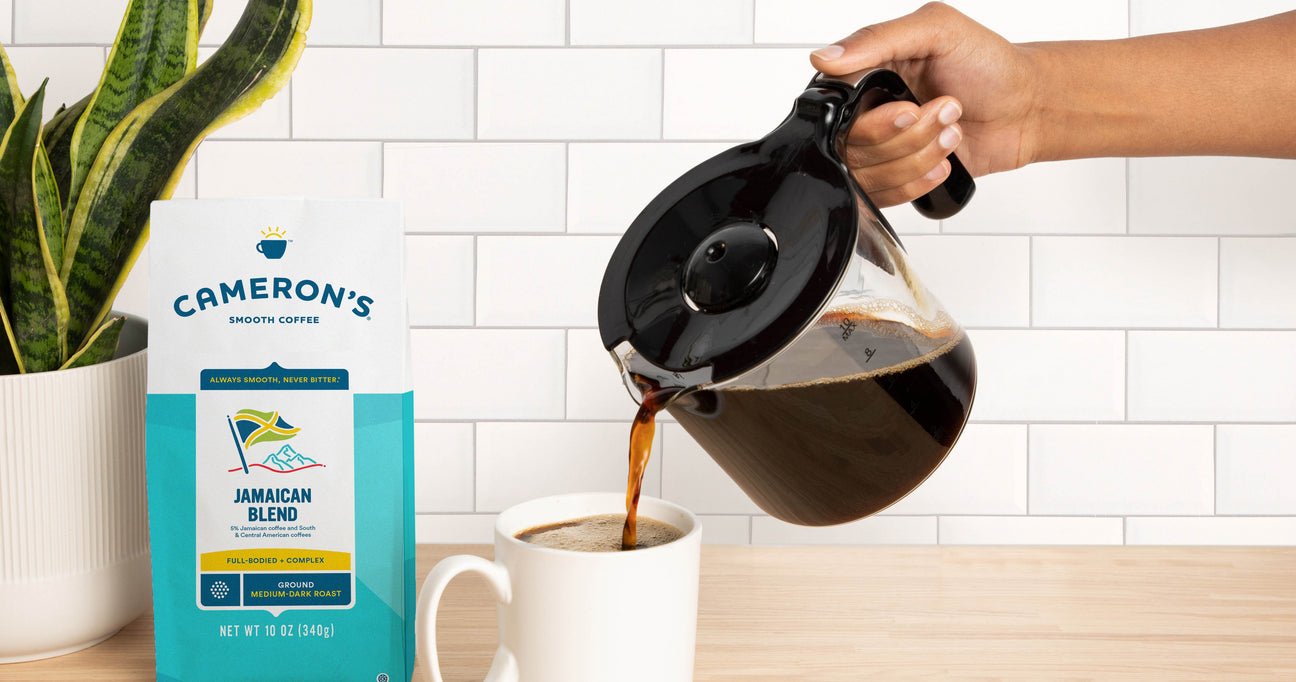
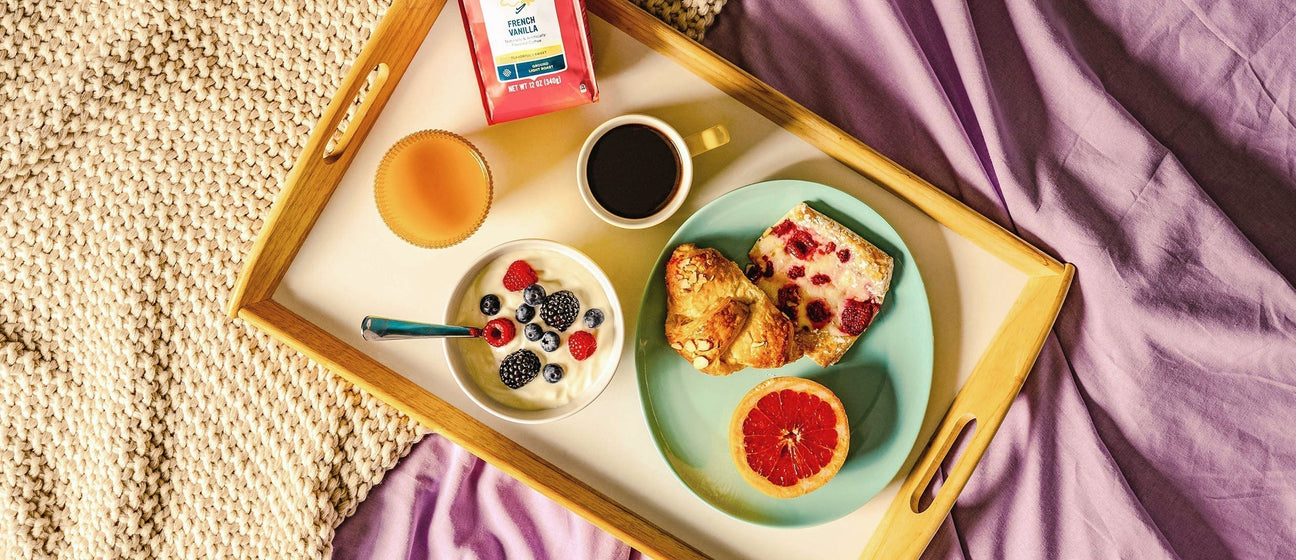
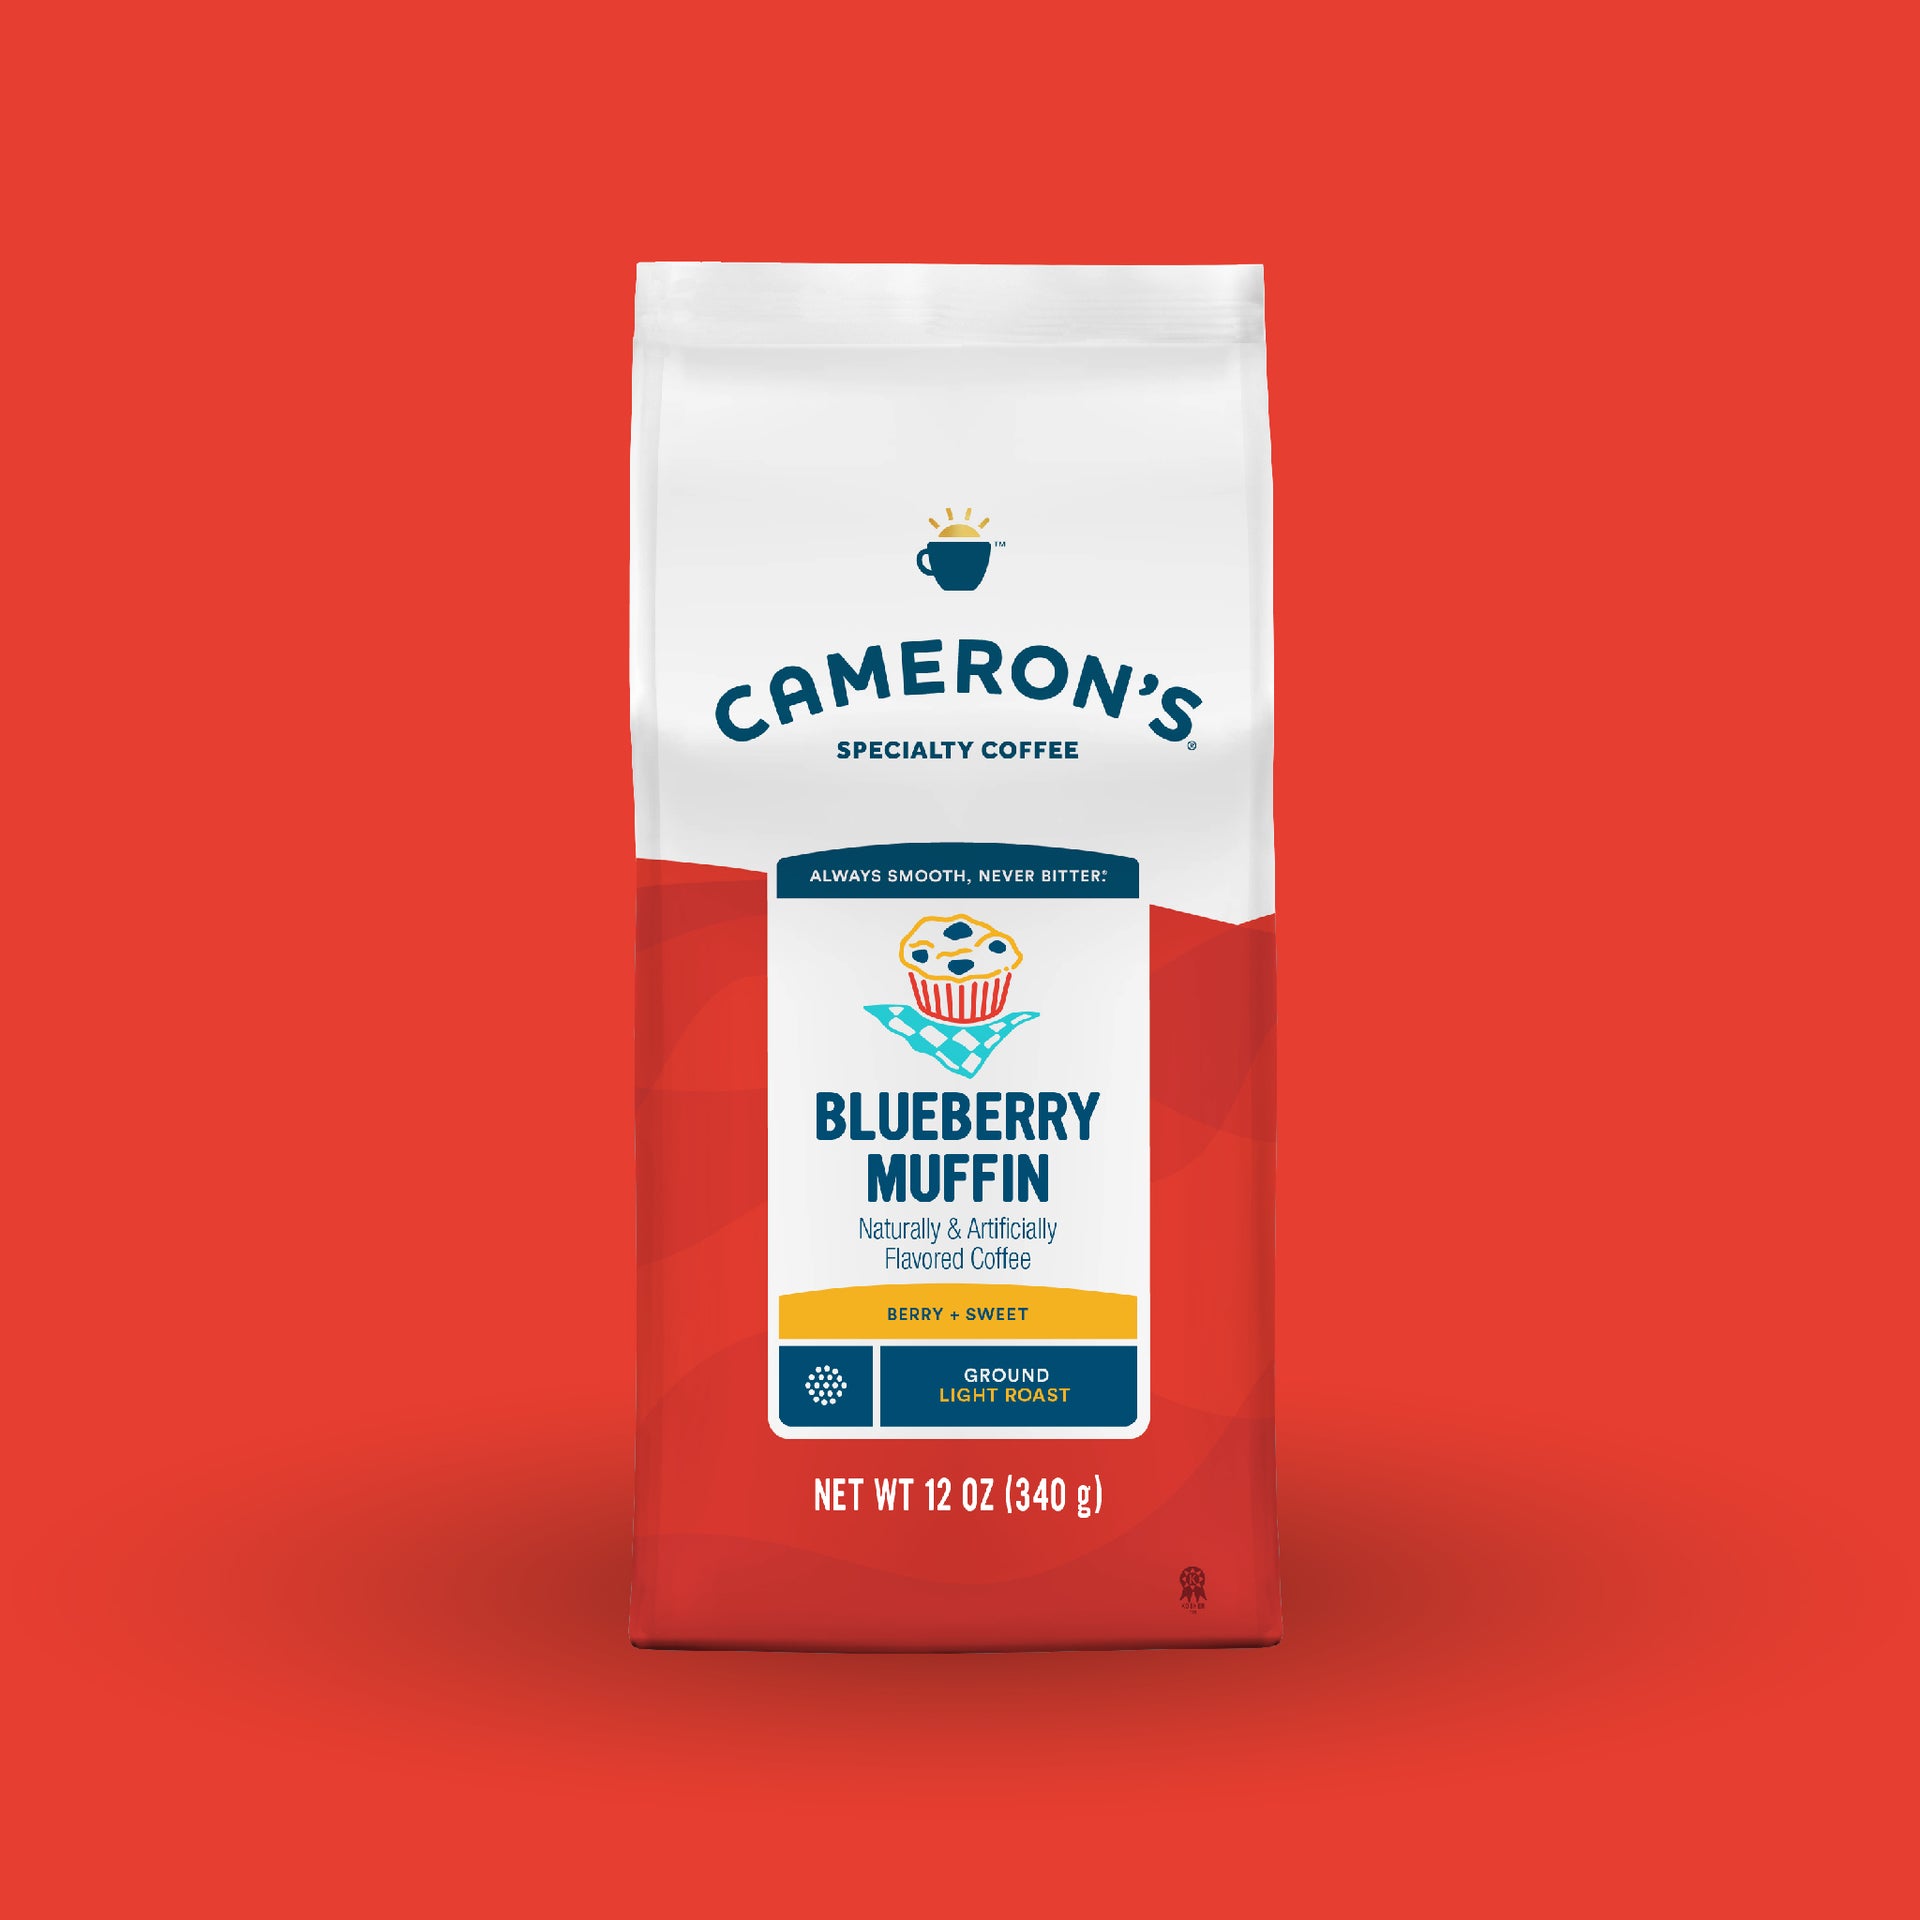
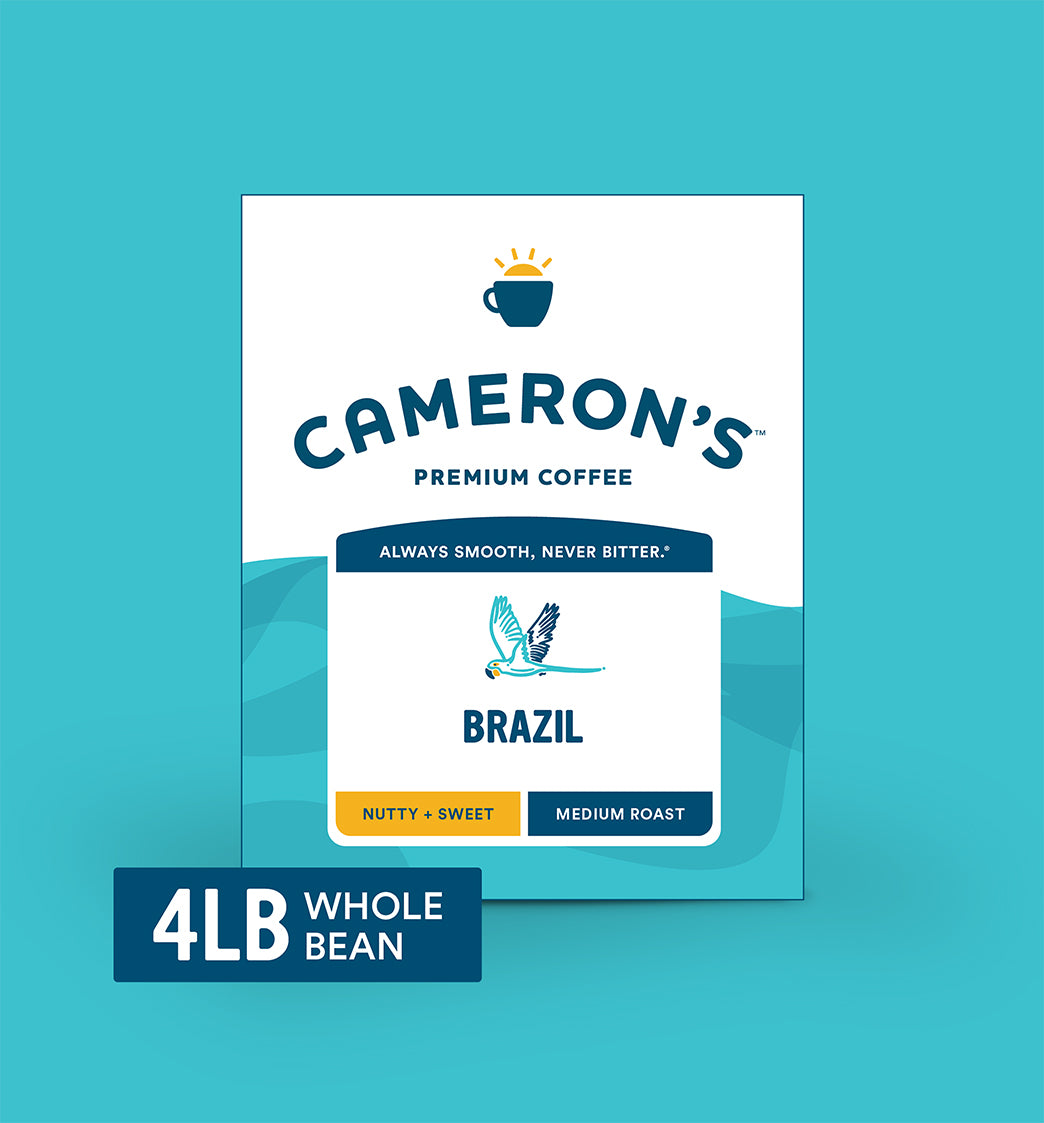
CAMERON’S BLEND
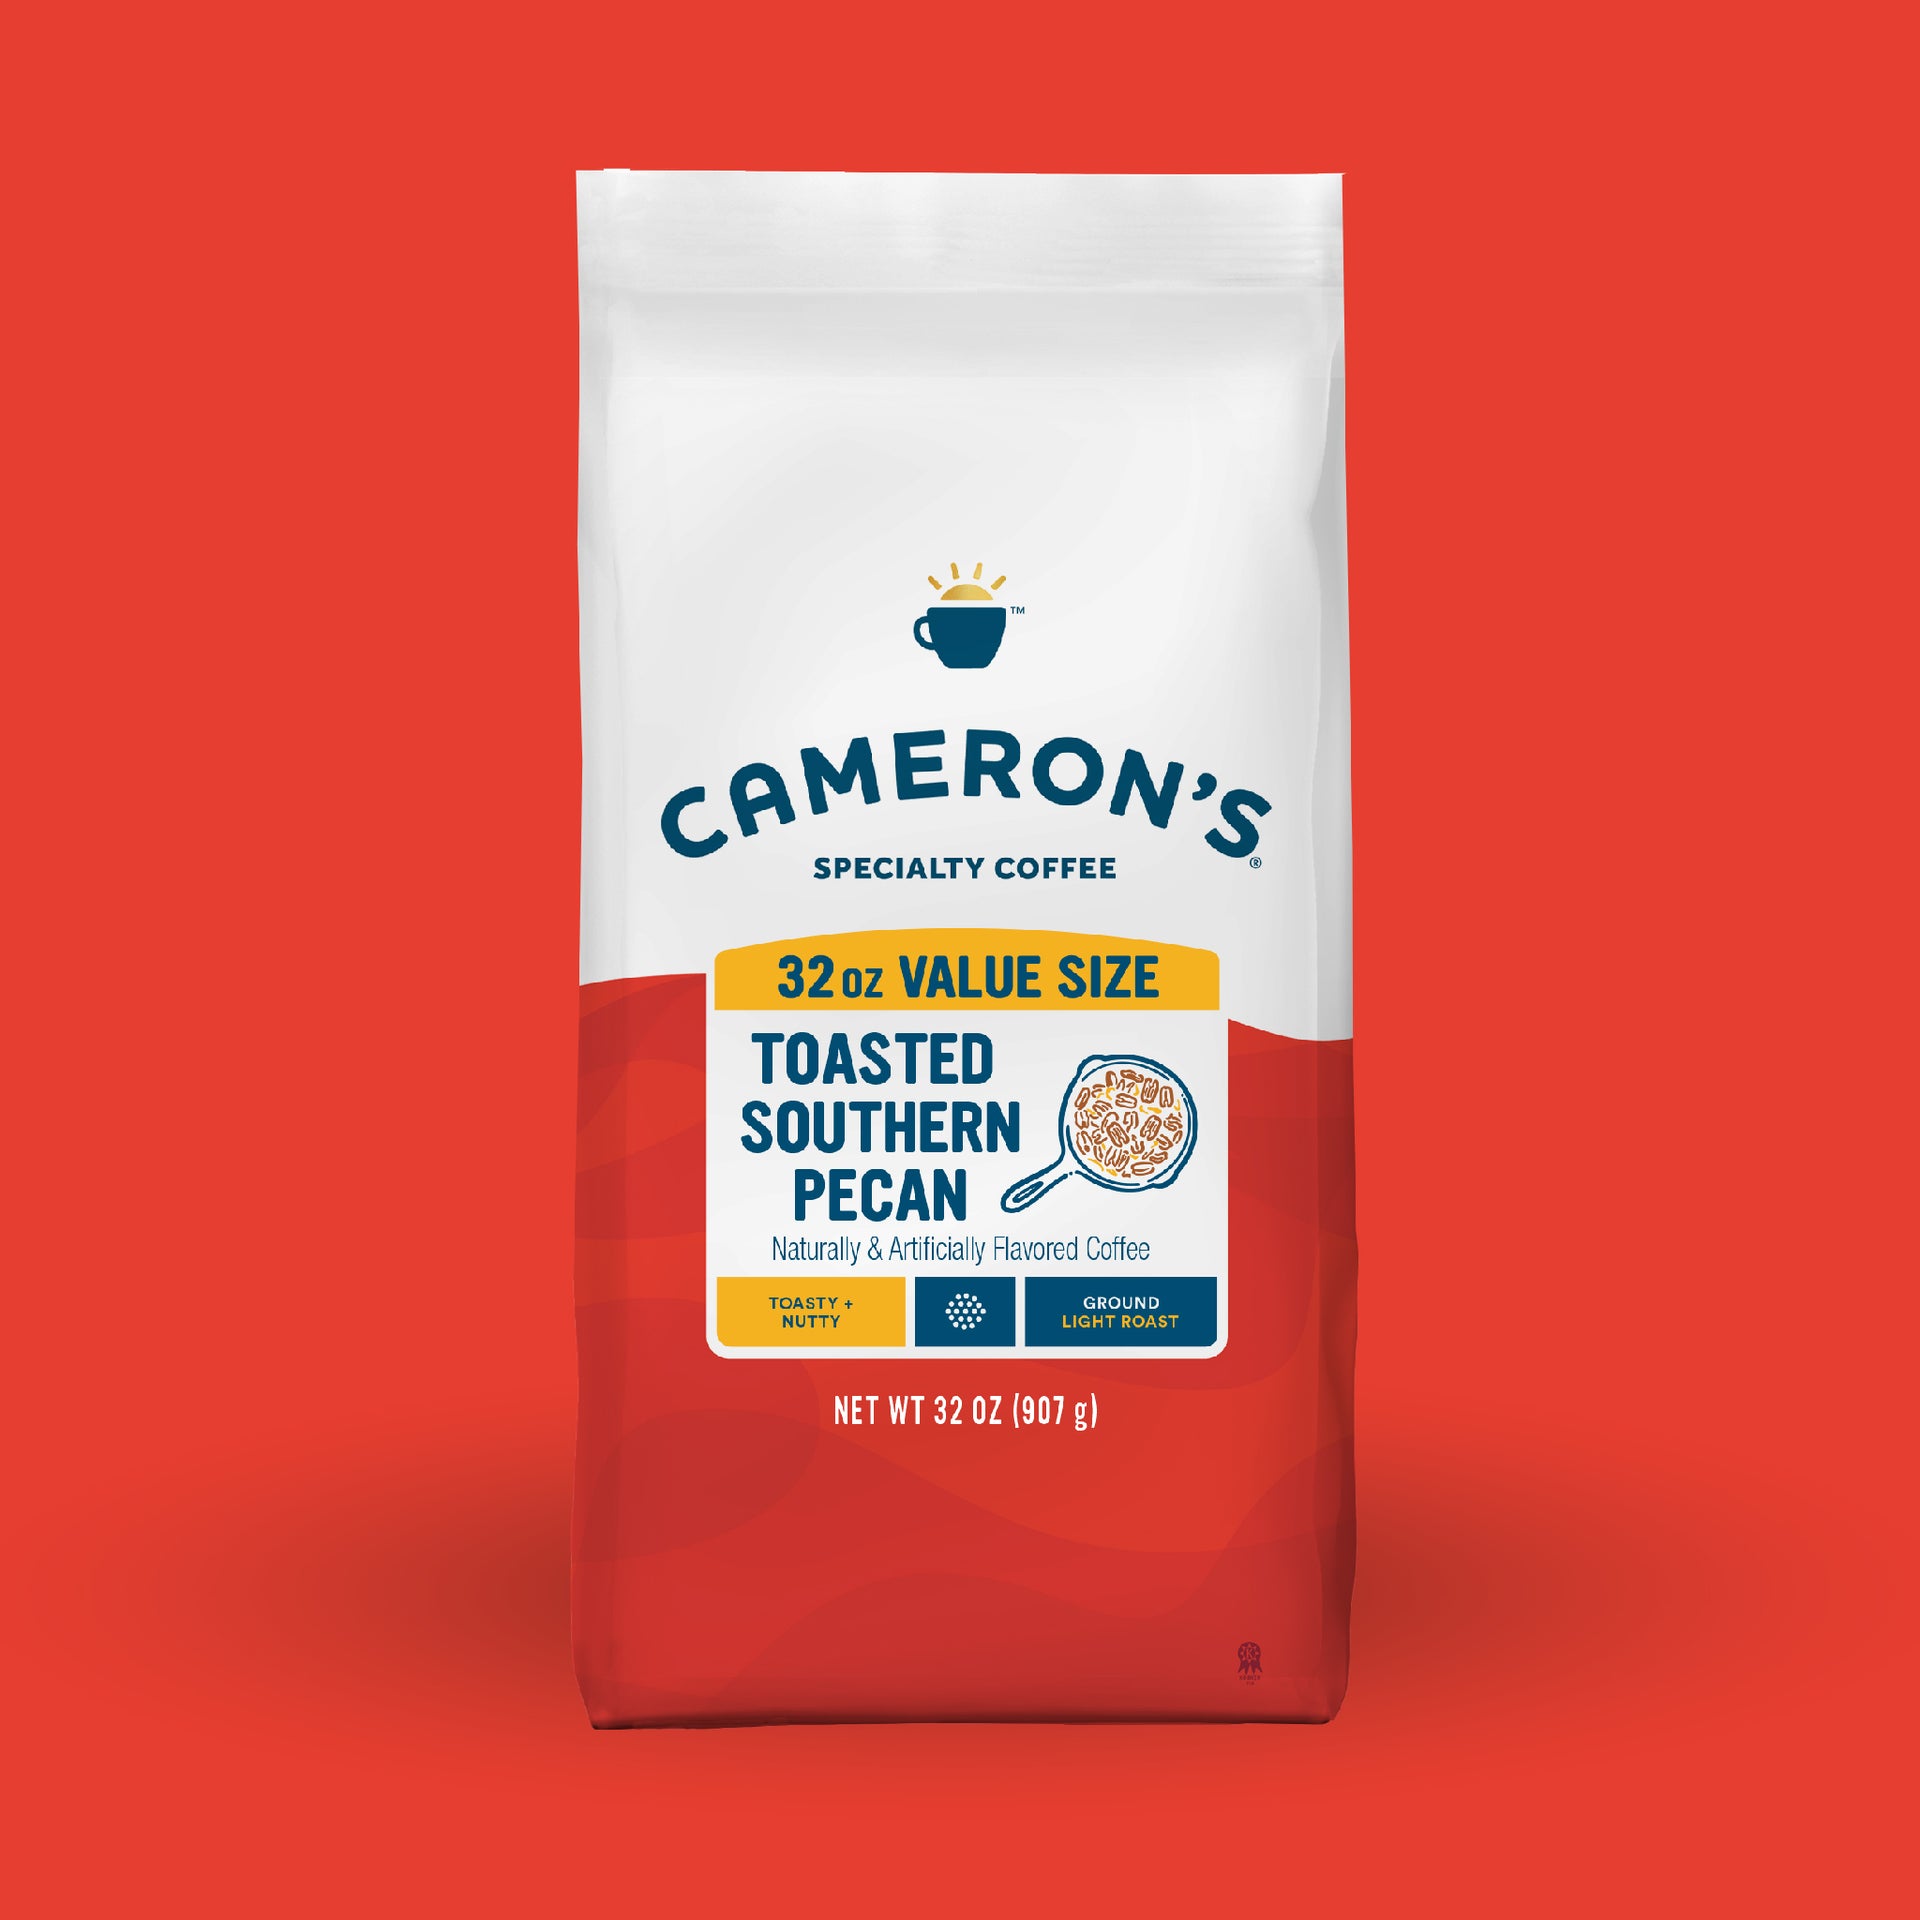
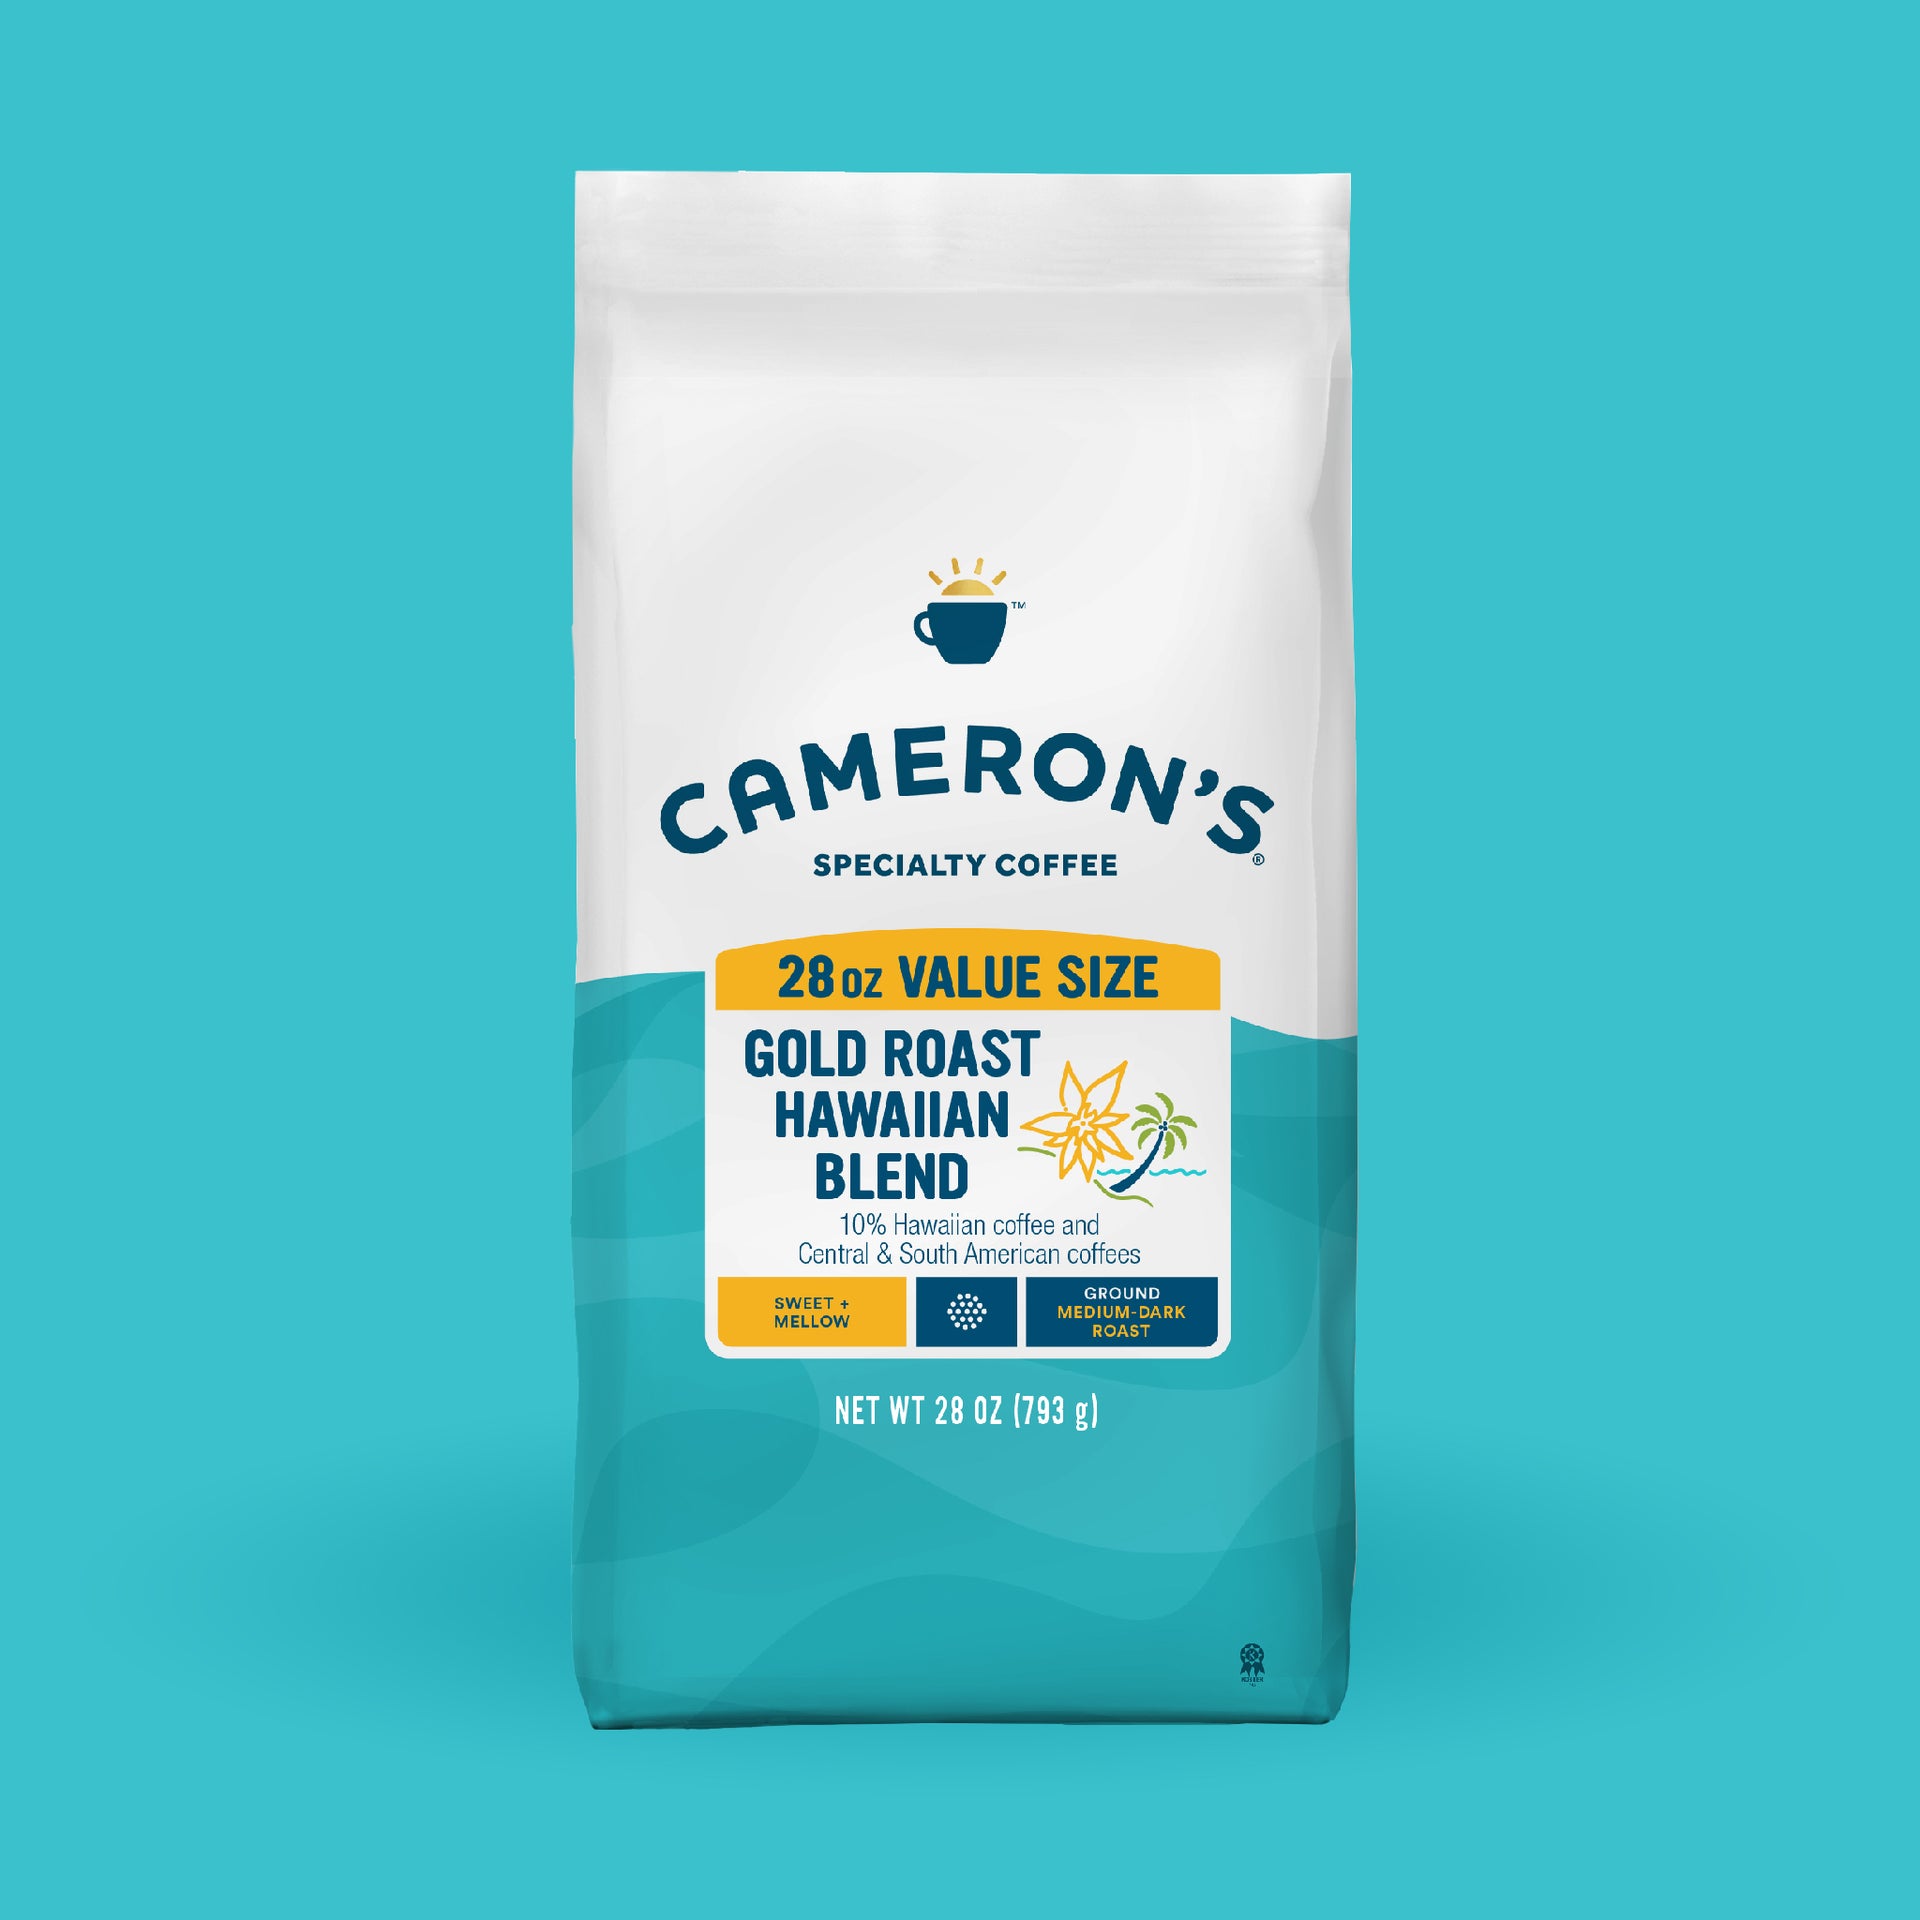
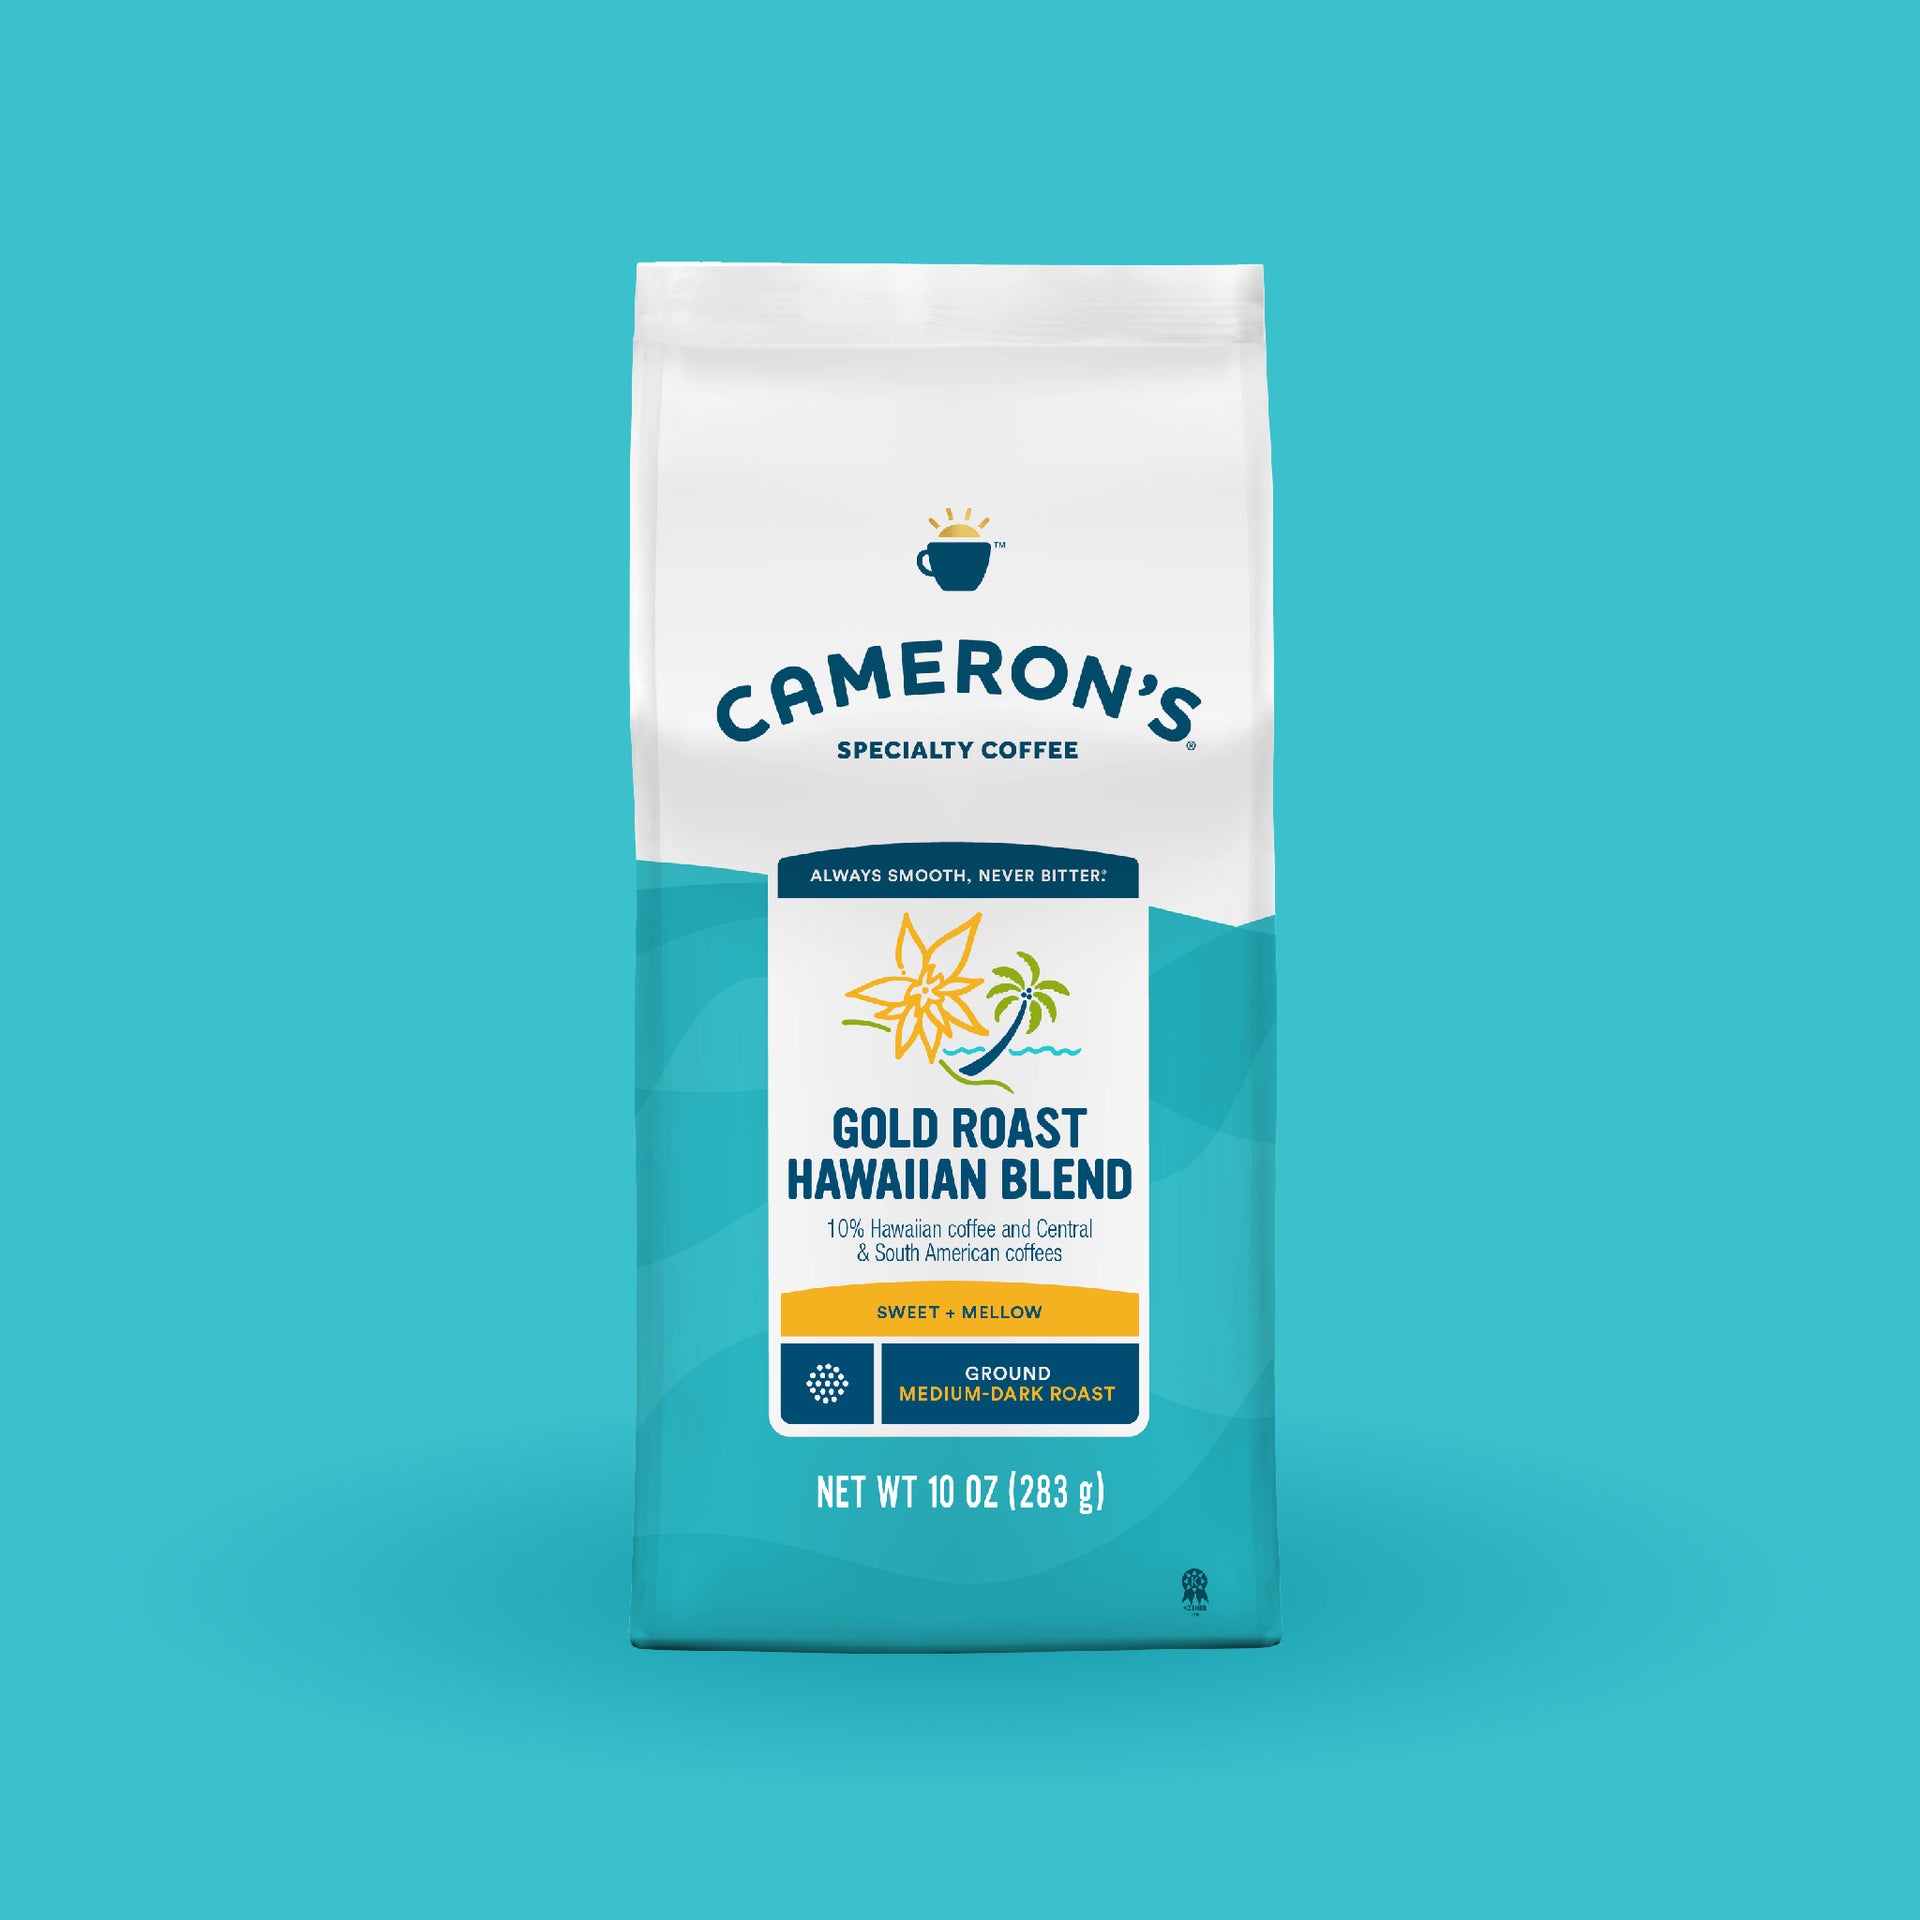
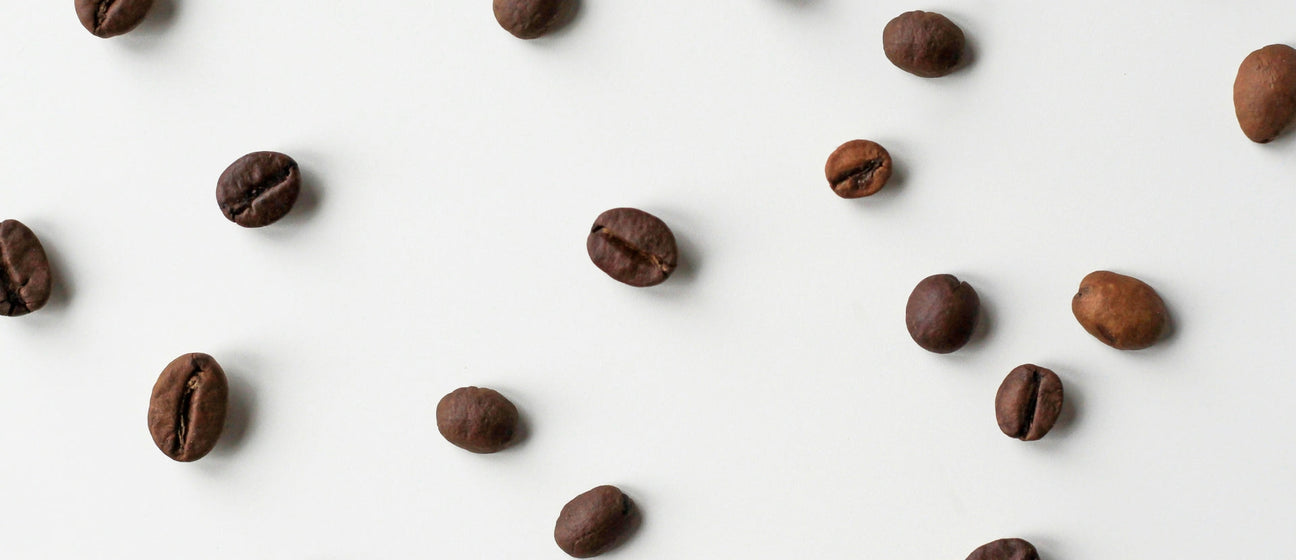
Pour-over brewers are known for allowing a coffee’s more delicate and complex flavors to shine. For this reason, we’d recommend choosing a nice light roast, like Cameron’s Organic Breakfast Blend, Woods & Water, or Hawaiian Blend. You can use our ground coffee, or take your time, and keep it extra fresh by grinding your own. If you’re grinding your own, aim for the coffee to look about as coarse as sea salt. Place the grounds in the dampened filter, then place the dripper on top of your favorite mug.
STEP 4
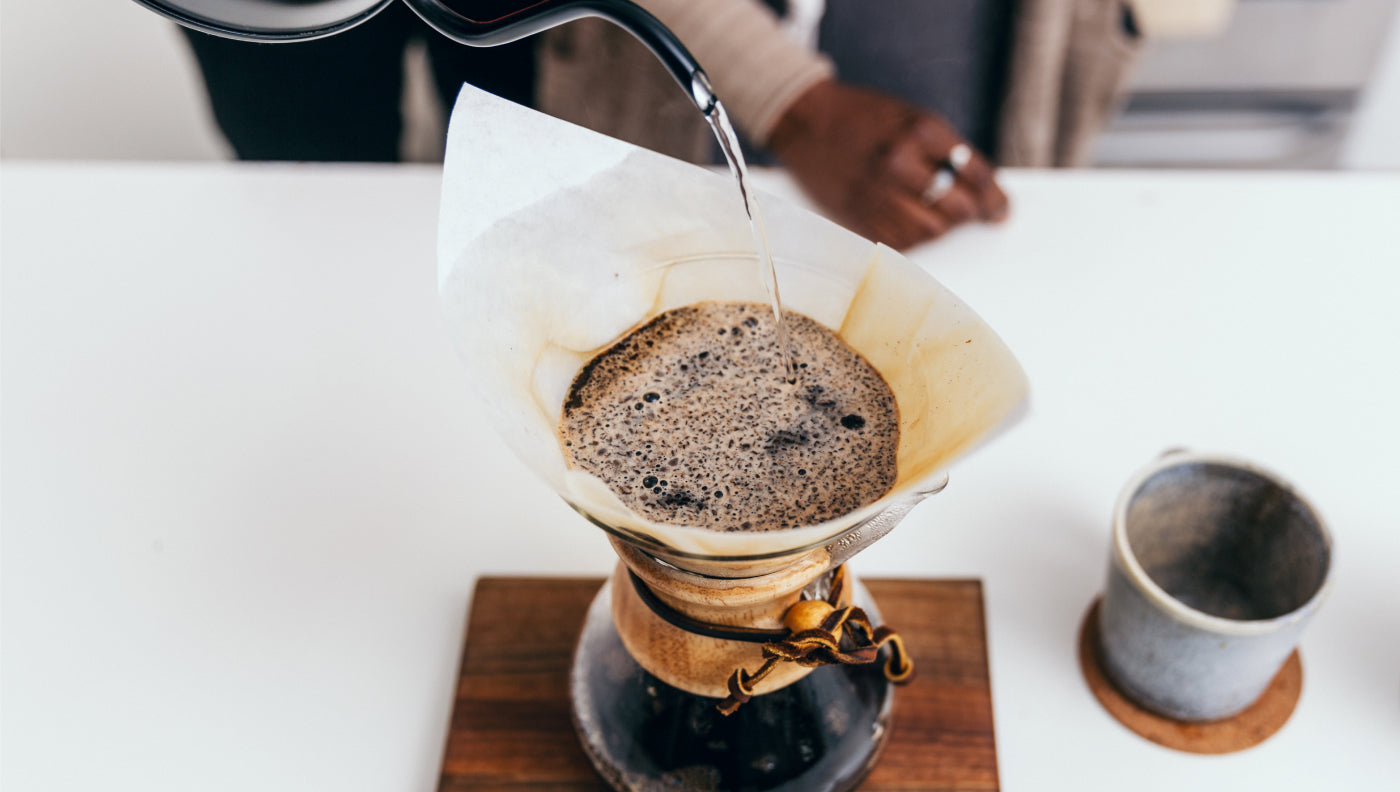
BLOOM IT
In a circular motion, pour just enough water to completely saturate all of the grounds, then let them rest for 30 seconds. This process is called blooming, and it allows for an even coffee extraction.

STEP 5
FINISH ‘ER UP
In a slow, circular motion, pour the remaining water over the grounds, keeping the liquid level in the dripper between ½ and ¾ full. All-in-all, the entire process should take 3-4 minutes.